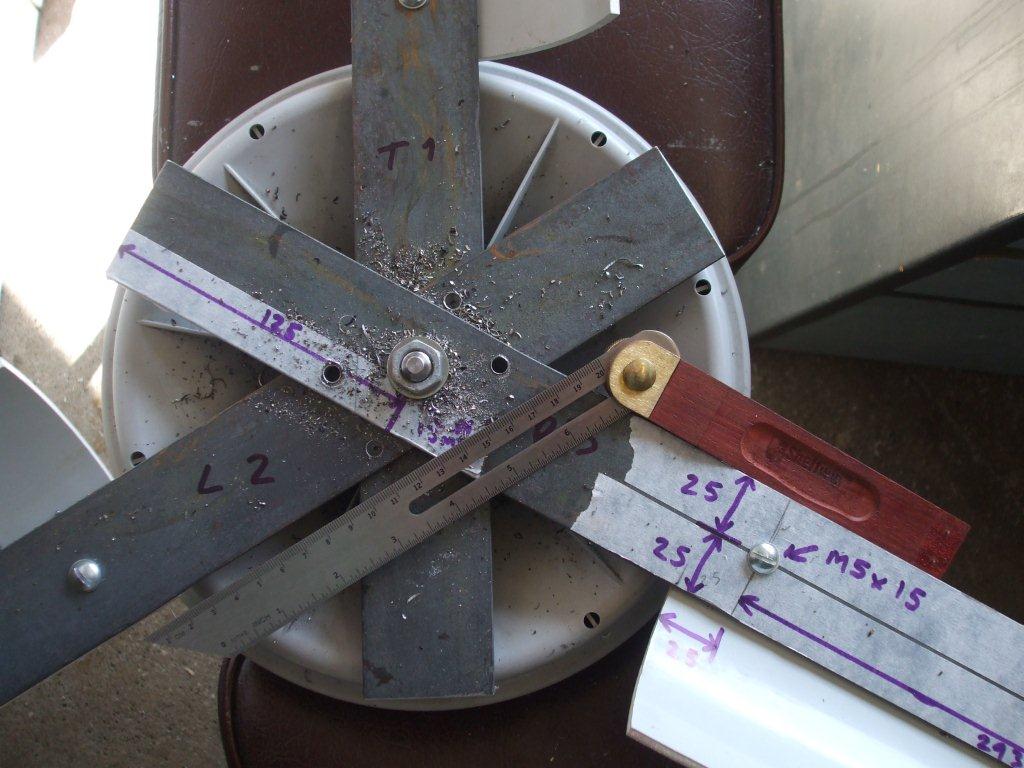
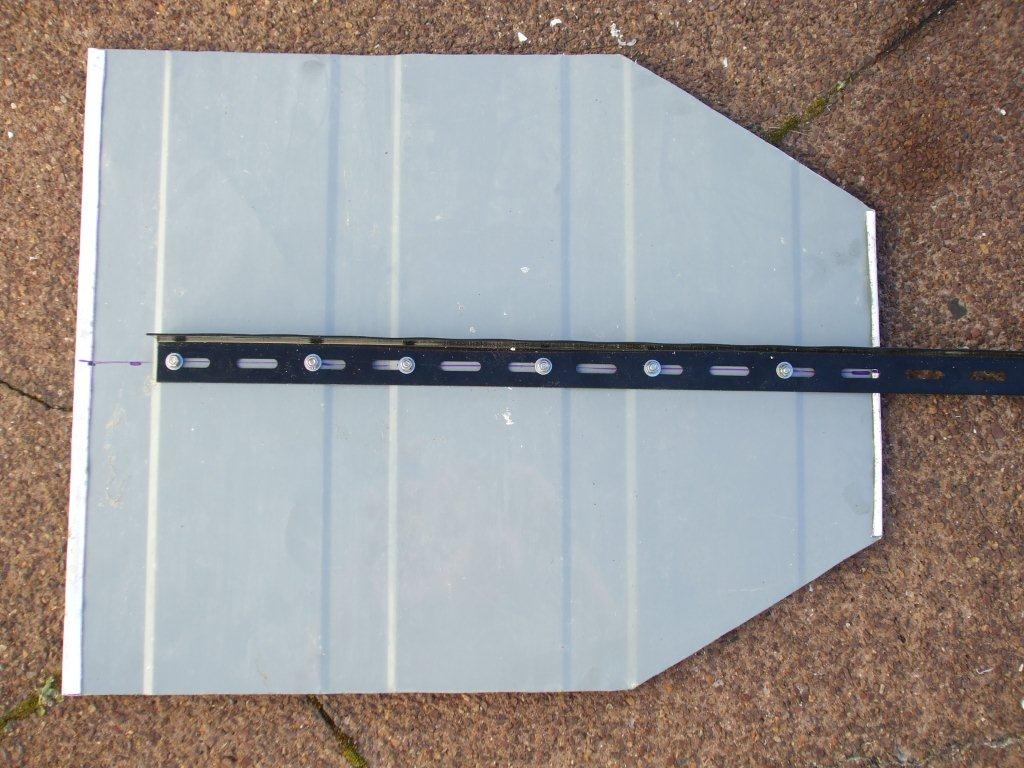
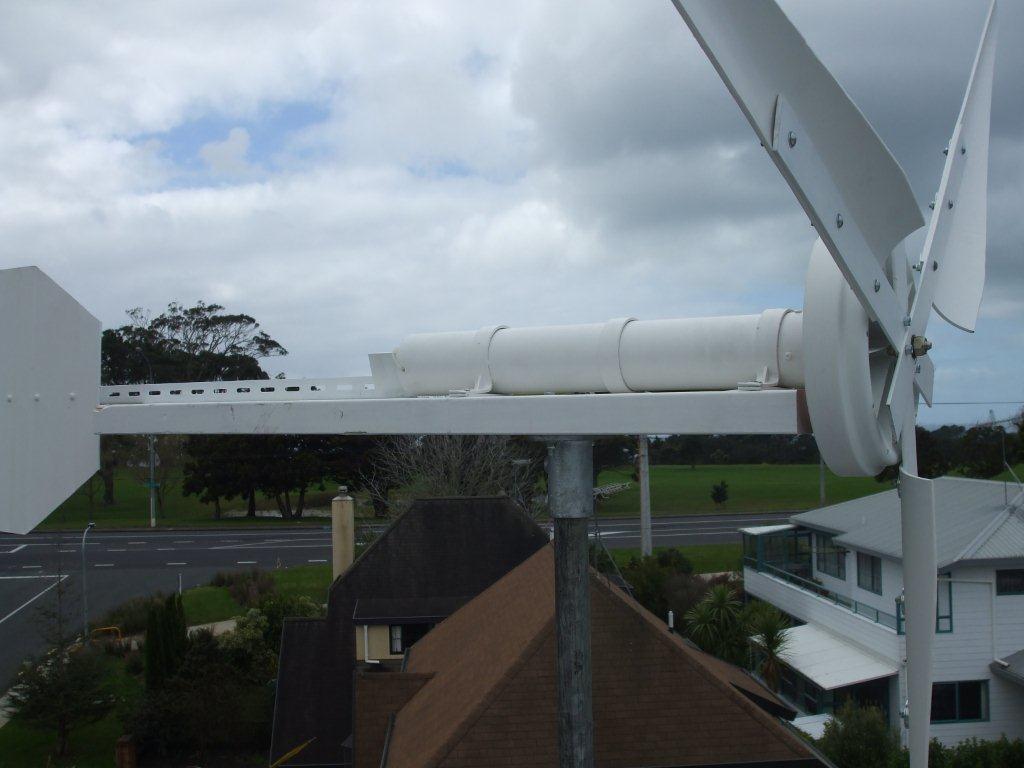
Marks Supplies
  • Home
  • Spa Pool Steps
  • Hot Wire Cutter
    • 150mm Hot Wire Cutter
    • 480mm Hot Wire Cutter
    • 1300mm Hot Wire Cutter
    • 1300mm Kit
    • Nichrome Wire and Hot Wire Cutter Parts
    • What size nichrome wire to use?
  • Modelling Supplies
    • Textured Terrain >
      • Textured Terrain Blends
      • Textured Terrain Basix
      • Textured Terrain Basing Grit
      • Textured Terrain Application
      • Textured Terrain Photos
    • Forest Foliage >
      • Forest Foliage Blends
      • Forest Foliage Basix
      • Forest Foliage Application
    • Lichen
  • Brother P-Touch labels
  • Cool Glasses
  • Garden Ornaments
  • PCs & Components
    • 8 Core Gaming PC
    • Ultimate 8 Core Gaming PC
    • Warframe Online Gaming
  • Miscellaneous Items For Sell
    • Motorola 2 Way radios
    • Sat Navs
    • Crimp Terminals
    • Washing Machine Parts
    • Help Us
    • Used Dell Servers
    • Used Hard To Find Computers And parts
    • Various Electrical Items
    • Various Non-Electrical items
  • Chess Boards & Pieces
  • Personalised Place Mats
  • The Wind Turbine Project
    • Wind Turbine Day 1
    • Wind Turbine Day 2
    • Wind Turbine Day 3
    • Wind Turbine Day 4
    • Wind Turbine Day 5
    • Wind Turbine Day 6
    • Wind Turbine Day 7
    • Wind Turbine Day 8
    • Wind Turbine Day 9
    • Wind Turbine Day 10
    • Wind Turbine Day 11
    • Wind Turbine Day 12
    • Wind Turbine Day 13
    • Wind Turbine Day 14
    • Wind Turbine Day 15
    • Wind Turbine Day 16
    • Wind Turbine Day 17
    • Wind Turbine Parts For Sale
  • The Fishing Kontiki Project
    • Building The Fishing Kontiki
    • Building The Winch
    • Fishing Kontiki Parts For Sale
  • The Sterling Engine Project
    • The Sterling Engine Build
    • The Sterling Engine Results
  • Project Segway
    • Self Balancing Scooter Day 1
    • Self Balancing Scooter Day 2
    • Self Balancing Scooter Day 3
    • Self Balancing Scooter Day 4
    • Self Balancing Scooter Day 5
    • Self Balancing Scooter Day 6
    • Self Balancing Scooter Day 7
    • Self Balancing Scooter Day 8
    • Self Balancing Scooter Day 9
    • Self Balancing Scooter Day 10
    • What Others Have Built
  • The Solar Hot Water Project
    • Solar Hot Water Day 1
    • Solar Hot Water Day 2
    • Solar Hot Water Day 3
    • Solar Hot Water Day 4
    • Solar Hot Water Day 5
    • Solar Hot Water Day 6
    • Solar Hot Water Day 7
    • Solar Hot Water Day 8
    • Solar Hot Water Day 9
    • Solar Hot Water Day 10
  • Robots & Electronics
    • Robot Technic ian Ultrasonic
    • What Others Have Built
    • Electrical - Electronic Parts for Sale
  • Future projects
  • Shipping & Other Info
  • Links
  • Contact Us

Wind Turbine Day 9

Picture
_ Day 9

I positioned the blades & secured them on the motor cover with a nut, next was getting the blades at the correct angle to each other. Together with a bevel gauge & some trial & error I tapped the blades around until all 3 angles were the same, I’m thinking I could have used a bit more science here but this method worked ok (I couldn’t find a protractor).

I then drilled four 6mm holes to fix the blades to each other to stop them moving relative to each other. I wanted to drill only 3 holes so the balance wasn’t affected but it wasn’t possible, I could have actually got away with just 2 holes but in the end I went with 4, overkill but it looked better.

I used M6 x 20 bolts & bolted the blades together, now I can remove the blades at any time in the future & be sure they will go back at the correct angle each time.

It’s important to add here that I’ve used fixings that I had in the workshop, if I’m happy with the finished design I will replace them with stainless steel & nyloc nuts. Even though this is just a prototype I still used spring or shake proof washers & nyloc nuts if I had them, the main thing was rusting over time.

I spent the rest of the day taking what I’ve already assembled & greasing the bearings & tightening fixings, I also added a few self tapping screws through the downpipe into the plastic bearing housing, probably not necessary as the fit was really tight but it was the right thing to do.

I was going to mount the horizontal 2x8 timber onto the adjustable scaffold leg today but I had assumed that the scaffold leg was hollow which would allow for the cable to come up the middle.

Well the dam thing wasn’t hollow, I don’t know how I could have missed this but I did. Now I’m not too sure how to mount the timber & still have it turn & have a cable going down into the pipe.

I had a look at one of the scaffold coupling & I maybe able to cobble something up with that but it’s not what I had wanted.

After lunch I had lots of ideas going through my head, I’m going to pop into a place that sells what I use to call Key Clamp but this place calls it MasterKlamp, anyway they make fittings for scaffold tubing.

Great news, they had exactly what I needed & I’m back in business, I may still be able to get this thing up & mounted today, more on the coupling later.

Back to work now, I mounted the 3 downpipe brackets to the timber along with the downpipe containing the bearing, shaft & motor. I used wood screws straight into the timber.

Now for the wind vane thing that keeps it pointing into the wind, I decided to make this out of one of the sides of the washing machine, I marked the design out on the side wall, I used a side that had a stamped impression that gave it slightly more strength compared to a side that was just flat.

I made the vane fairly large, only because it was easier to reduce the size later than add bits on. When it is installed if it turns too often then I can reduce the size. Due to not opting for a proper bearing then I could see that it could take a bit more wind pressure to turn the unit so this is another plus for going with the large vane.

Anyway, I cut the shape out with the jigsaw, I made a lot of noise doing this, I tried different ways of reducing the noise but in the end I just went for it. There was no way I was going back to the manual hacksaw.

I left a bit extra at the front & back of the vane which I bent over so it gave it a bit more strength & made the sides a bit smoother. The top & bottom I just filed to remove the sharp edge.

I bolted the vane to a piece of cheap angled steel, the type that shelving is sometimes made from with lots of holes in it. It was easy to work with but it doesn’t have a lot of strength, it will not snap but I think the vane will wobble when it’s windy. If so then it’s easy enough to change.

I screwed the angled steel to the wood so the vane lined up with the motor, which meant that the angled steel was offset to one side slightly, I used wood screws here.

As for how far back to mount the vane, I wish I could say that I crunched some figures & calculated the distance, but what I actually did was put it as far back as I dared before the angled steel became too wobbly. If the thing turns too frequently then I can always bring it in a bit later.

It’s starting to look good now. I found the centre of gravity by rolling the timber (with the turbine fully assembled) on a spare piece of pipe, so it looked like a see saw, & then marked it. This is where I want to put the bracket to connect to the vertical scaffold pipe. Getting this right means that it should turn easier & put less strain on things generally.

I bolted the new coupling on, the bolts come out either side of the downpipe, just about perfect.

Next I mounted it on a short piece of pole & secured that to my trailer in the driveway & hastily connected the blade assembly before it got too dark.

Success, it’s eventually mounted & I think it looks great, it looks much bigger & robust than I had thought it would.
Picture
With the blades aligned I drilled the 4 fixing holes.
Picture
I drilled the downpipe & fixed 2 self tapping screws through into the plastic bearing housing. The screw sat on the top is to just show the size & length of what I used.
Picture
Marked out the side of the washing machine for cutting the wind vane.
Picture
After making a lot of noise the wind vane is now cut.
Picture
Here the wind vane front & back edges have been bent over, the sharp edges removed & the angled steel mounted.
Picture
This shows the scaffold bracket bolted to the underside of the wooden cross member.
Picture
Now it's painted it's starting to look like a wind turbine.
Picture
Here are the 4 nut & bolts for fixing the blades at the correct angle. Plus a pic of the large nut & washer. I had to change the washer for a stainless steel one later. The nut is a Nyloc nut, which means it has a blue plastic bit inside the threads to stop the nut vibrating loose.
Back to Day 8                                                Forward to Day 10

If you like our site then please click on the Facebook icon at the top right of this page, thank you.
For more information you can email us via our Contact Us page.
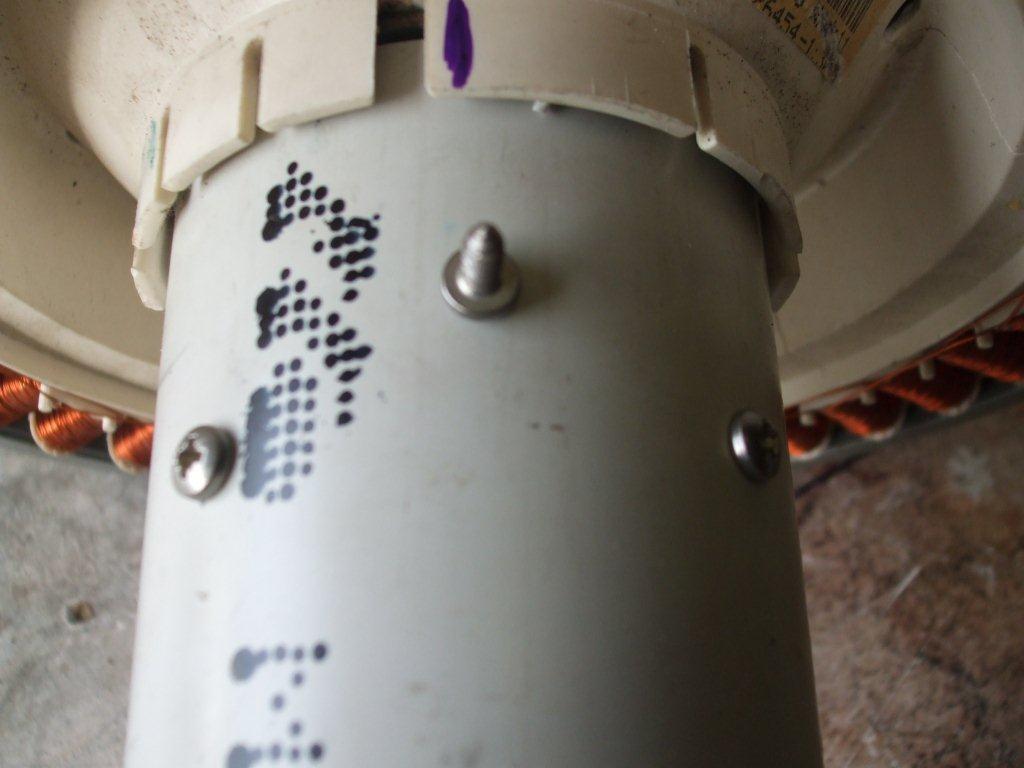
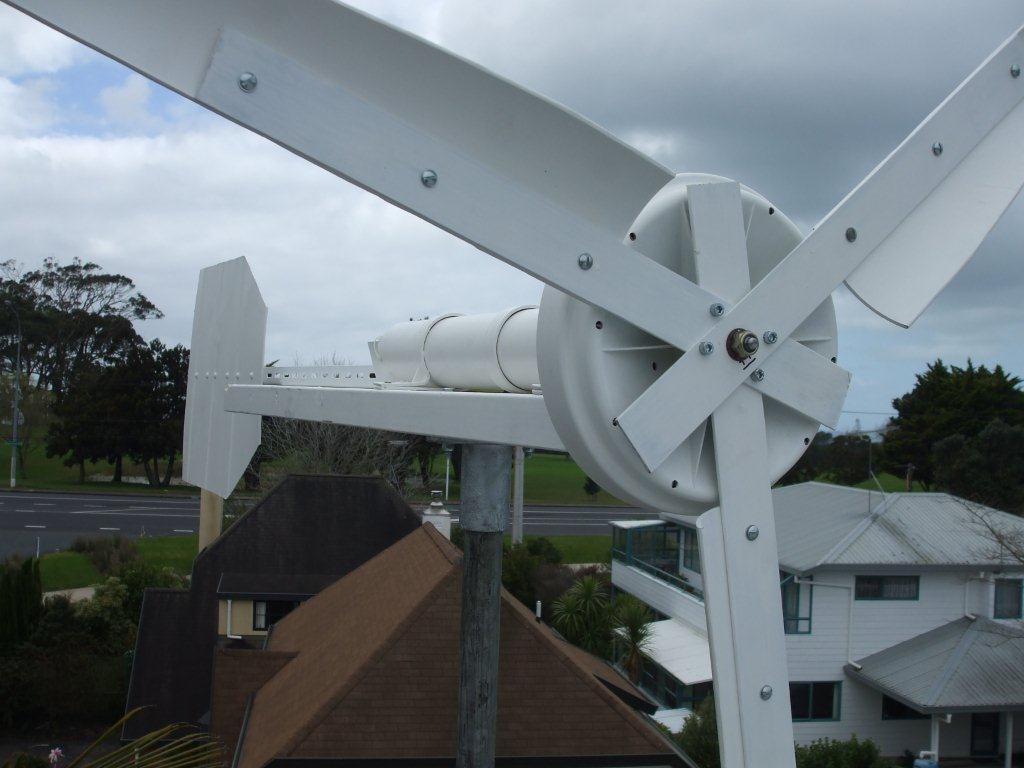
Website created and managed by MarksSupplies.com