This is an ongoing project, started in 2012 and shelved whilst I sourced the parts to continue. Then I got side tracked and built a homemade segway, but the good news is that I've now got all the parts to get this project back on track.
This project is going to be using 20 glass evacuated tubes to absorb the heat from the sun & then a lot of plumbing to harness that heat and turn it into hot water. My hot water is currently heated by electricity which along with many other things is getting very expensive. I currently use about $240 NZD of electric every month for cooking, hot water & general appliances but I do not use it for heating.
I'm hoping to at least half my electric bill with this project which should be a saving of a minimum of $120 NZD a month based on 3 people showering daily.
Using the sun to heat water is not a new idea, nor is using the sun to create power with solar panels. But the reason we don't all harness this free power is because it is not free. The cost of solar panels or in this case all the equipment necessary for solar hot water is just too expensive, that plus the install cost puts it out of reach for most people. If a solar hot water install cost a total of 20K then you could be looking at 15 years before you make any savings, but you would have to be certain that you will keep the house for at least 15 years. Plus there's also maintenance costs etc that you will need to factor in.
The government in some countries will offer money to help you fund this, but to get that money you have to use particular preferred companies to install the complete system, these companies are generally very expensive compared to buying a cheap system & getting a local plumber to install it, so in the end the government subsidy doesn't actually make it any cheaper.
So what I'm going to do is to make & install everything myself for less than 1K which is a pay back period of less than a year. Any plumbing & electrical work needs to be checked & signed off by a registered tradesman & building consent approved by the local authorities. This can change from region to region & definitely from country to country so please check your local regulations for your area.
Completing this project for less than a $1000 NZD is more than possible, I'm actually expecting to do it for a lot less, but let's see how it evolves over the next few months, the little items tend to push the cost up in most projects but I will be more than happy if I can keep the final total less than $1000 NZD.
I will document my daily progress on this website, even the failures, for that reason I would encourage you to wait until I've finished and read all the information before starting or even thinking about doing this yourself.
My daily progress will not be consecutive days as I have many other things to do so this could take a few months to complete.
So for now I'm going to publish a few pictures below to fill the void before I start.
Don't worry if you don't understand it all just yet, I will explain the details later.
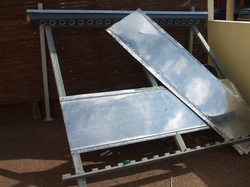
This is the frame to support 20 glass evacuated tubes.The frame is homemade & I will document how I made it soon.
The frame is made from scrap galvanized steel from a commercial greenhouse that was demolished. The stainless steel sheets are old commercial kitchen work surfaces.
The bit along the top is zinc rain water guttering.
All these items were from online auctions or from my local metal scrap dealers.
The frame is made from scrap galvanized steel from a commercial greenhouse that was demolished. The stainless steel sheets are old commercial kitchen work surfaces.
The bit along the top is zinc rain water guttering.
All these items were from online auctions or from my local metal scrap dealers.
Below is a video of me testing different heat pipe designs. Notice the tube furthest away has a shorter heat pipe protruding from the top, well that was the size that worked best. I also tried different amounts of acetone (more on this later) to see what worked best.
The cable ties are holding the thermometers & heat sensors in place.
I poured some water into the top so you can see & hear how hot the end of the heat pipe gets after only 15 minutes in the sun. Wow, these things are great, & very cheap to buy, mine only cost $5 NZD each but I definitely got a bargain from someone who had a container full for a project that never got the funding. They are around $30 NZD each normally.
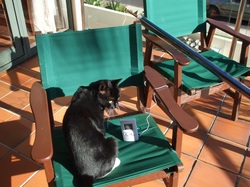
This is my cat keeping an eye on the temperature of one of the evacuated tubes I had on test.
I normally have an old sheet over the end of the heat pipe for safety whilst the heat pipe is getting hot but I removed it for the photo.
The heat pipe end will eventually have cold water running passed it which will keep the temperature down as well as various safety features to combat over temperature or over pressure situations.
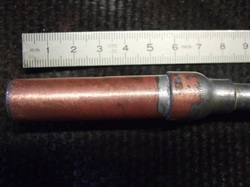
This is a close up of how I made the thing that is poking out the top of the evacuated tube in the above picture.
It's called a heat pipe & it slides down inside the evacuated tube.
All the copper pipe came from metal recyclers & scrap yards, copper is far too expensive to buy new, at least it is for me, but due to the high temperatures it is the best solution for this project.
It's called a heat pipe & it slides down inside the evacuated tube.
All the copper pipe came from metal recyclers & scrap yards, copper is far too expensive to buy new, at least it is for me, but due to the high temperatures it is the best solution for this project.
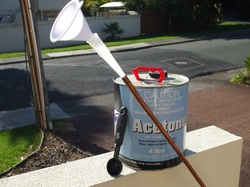
This is how I got a carefully measured amount of acetone inside the heat pipe. Acetone has a low boiling point so I used this to transfer the heat to the top of the heat pipe, the top is where the cold water will be flowing passed to take that heat away.
The heat pipe is a sealed unit, so as soon as I pour the correct amount of acetone in I then heat the bottom of the copper heat pipe so the acetone expands & then solder the end closed before the acetone comes out the top, so when it cools it will create a vacuum which further reduces the boiling point & also stops the heat tube from bursting from excess pressure.
The heat pipe is a sealed unit, so as soon as I pour the correct amount of acetone in I then heat the bottom of the copper heat pipe so the acetone expands & then solder the end closed before the acetone comes out the top, so when it cools it will create a vacuum which further reduces the boiling point & also stops the heat tube from bursting from excess pressure.
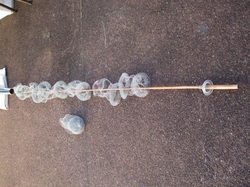
Here I'm inserting a finished heat pipe into an evacuated tube. I'm using inexpensive stainless steel washing up scrubbing pads to transfer the heat from the inside of the evacuated tube to the copper heat pipe.
The thing on the end of the heat pipe is a silicon babies teat to seal off the top from dust & debris. This end of the heat pipe gets extremely hot so silicon is a good choice & it fits the top really well.
The thing on the end of the heat pipe is a silicon babies teat to seal off the top from dust & debris. This end of the heat pipe gets extremely hot so silicon is a good choice & it fits the top really well.
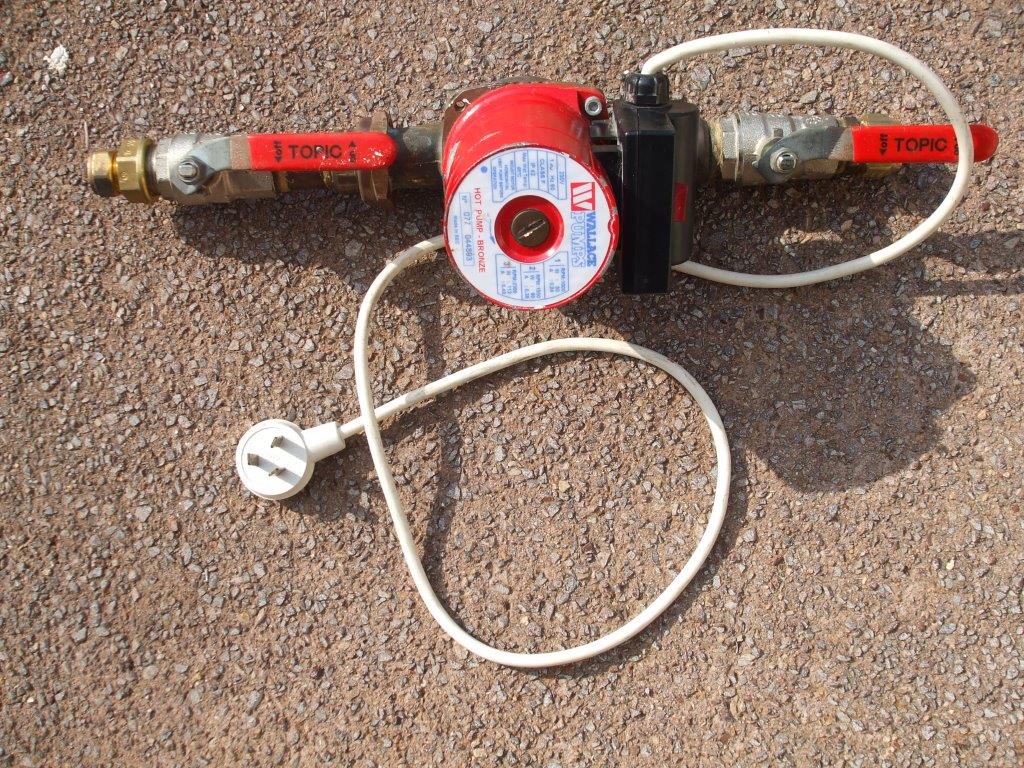
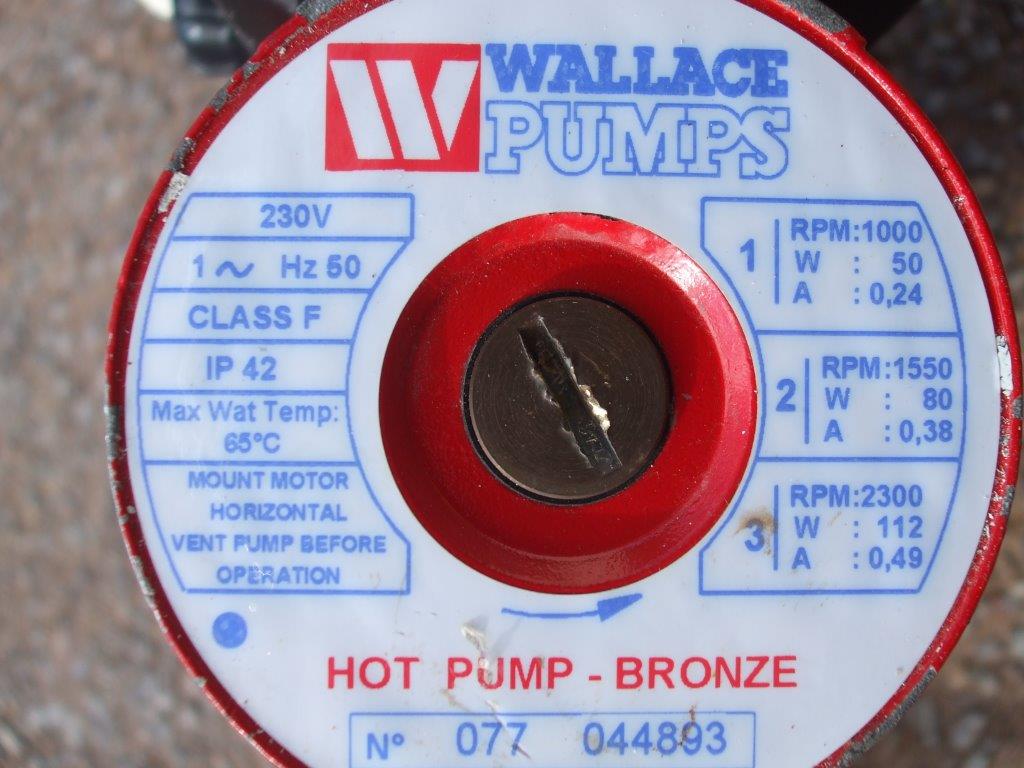
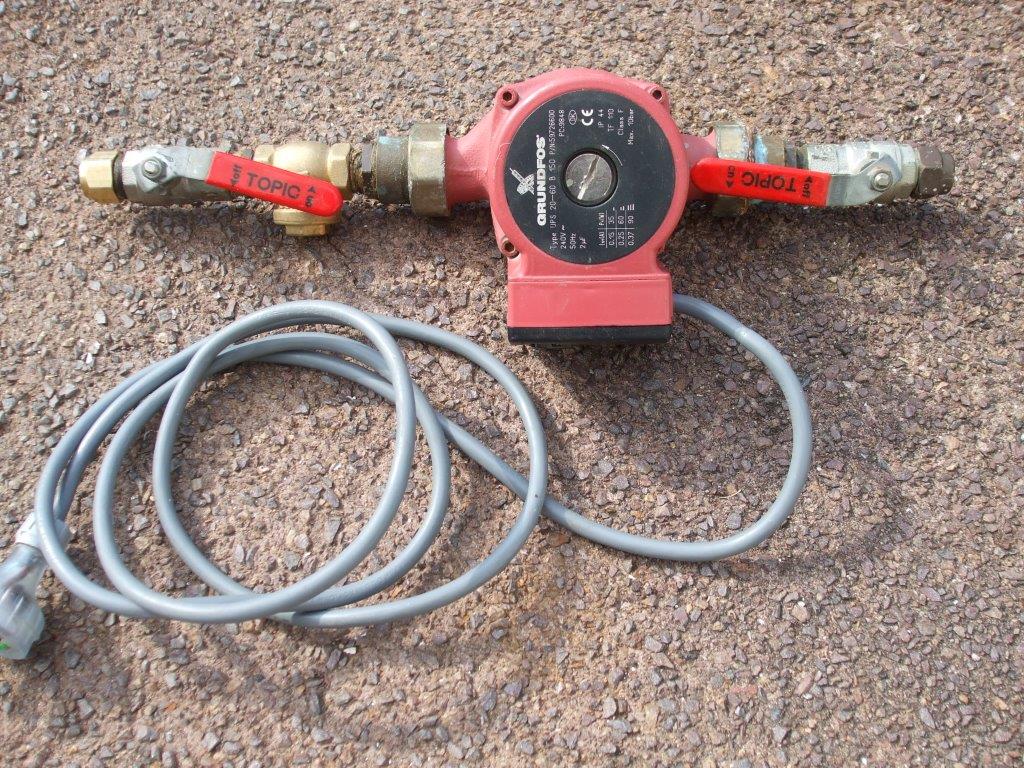
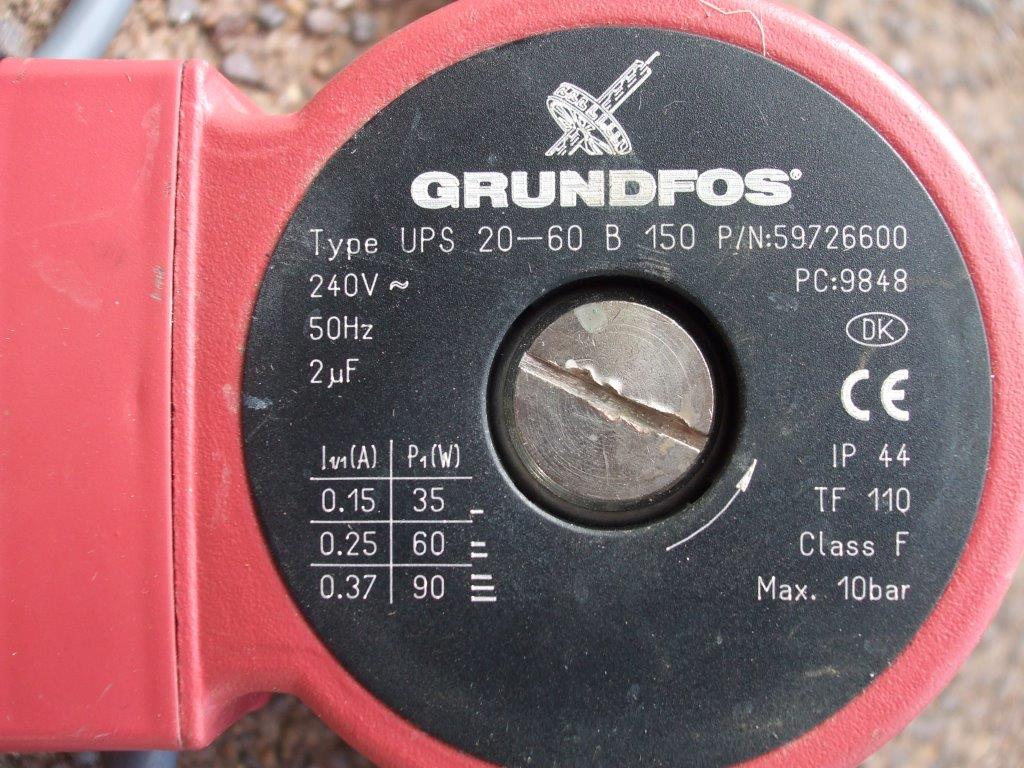
Above & below are 2 used pumps I purchased off our local New Zealand online auction called TradeMe. They cost $130 NZD for 2, these are around $400 NZD each new so I was happy with the purchase. I only need one for this project and I will keep the other as a spare.
Both pumps came with the isolating valves & all couplings, which saves a lot of money.
I will use the Grunfos pump on it's lowest setting, both pumps have 3 speed settings. When looking at the label the lower pump has the slowest setting & it also uses the least power.
When looking for a pump you will need a hot water brass bodied circulation pump, I would recommend getting one with different speed settings & using the slowest setting. We need the cold water to slowly pass the end of 20 copper heat pipes, if it rushed past then it has no time to heat the water, & by the time the water gets back down to your hot water cylinder it would have lost what ever heat it had picked up in the first place.
When I tested the pumps the Wallace pump sometimes did not start, if it was on it's fastest setting & I tapped it it would start. I initially thought it was due to air in the pump, then I thought it was because in my case the Wallace pump came with a one way valve (check valve) & I thought the valve was stuck closed. I removed the valve & the pump worked fine for a while & then the same problem came back. I removed the large screw in the middle of the pump which gives you access to the pump shaft. When I turned the shaft by hand the pump would start, I could repeat this every time which led me to replacing the capacitor. The capacitor is a large cylindrical thing with 2 wires coming off it that stores power & then lets that power loose to help start the pump. When I looked at the capacitor it was only a 2.5 μF (microfarad) cap which was smaller than normal so this must have been what they call a run capacitor because it is on all the time as opposed to a start capacitor which switches off by centripetal force when the motor has reached a certain speed. Anyway, $20 later & I had sourced & fitted a new capacitor & all is well. I thought I'd mention this just in case you have a faulty pump one day & didn't want to spend $400 on a new one.
Capacitors are used to start many electrical motors so if you have a motor that needs a helping hand to start then checking the capacitor & it's connections is definitely the first thing to do.
Capacitors are used to start many electrical motors so if you have a motor that needs a helping hand to start then checking the capacitor & it's connections is definitely the first thing to do.
Here I'm testing the 2 pumps, plus I wanted to visually see the difference between the 3 settings as well as compare the pumps.
If you like our site then please click on the Facebook icon at the top right of this page, thank you.
For more information you can email us via our Contact Us page.


