
Self Balancing Scooter Day 4
8th October 2012
3 hours |

|
I spent about 3 hours today testing out different balance configurations & I've found what I think is the best configuration whilst still using the same tubular frame & wooden base plate.
Although I'm not sure if this will be good enough, I had a think over the weekend of what I'm trying to accomplish with the balance & I keep coming back to the fact that the tubular frame is too long. Due to the nature of the frame I'm unable to shorten it which is why I spent 3 hours trying to balance it.
My ideal setup would be the motors facing upwards, a much shorter frame, larger wheels & the batteries mounted low between the wheels.
Unfortunately I don't have any frame or tube that would allow me to mount the motors facing upwards so I'm going to persevere with what I have accomplished so far, it may be ok. After all I can now stand on it & balance ok but I've still got a slight nervous wobble but that may go away with practice & we must not forget that we will soon have a whole bunch of electronics that will help us out with the balance.
Only time will tell if this will be ok or if I'm clutching at straws but I'm certainly going to proceed with the timber for now whilst there is still some uncertainty.
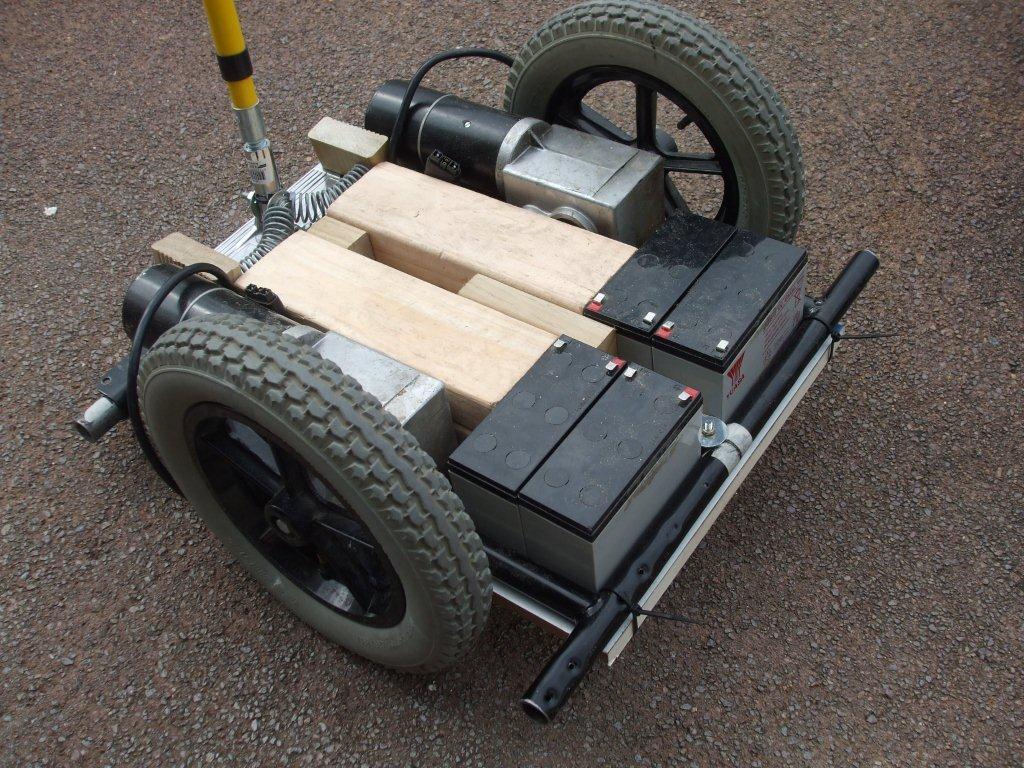
Here's what I have so far, it balances by itself or it did before I quickly added the springs so it would keep the handle upright for the photo.
Although I'm not sure if this will be good enough, I had a think over the weekend of what I'm trying to accomplish with the balance & I keep coming back to the fact that the tubular frame is too long. Due to the nature of the frame I'm unable to shorten it which is why I spent 3 hours trying to balance it.
My ideal setup would be the motors facing upwards, a much shorter frame, larger wheels & the batteries mounted low between the wheels.
Unfortunately I don't have any frame or tube that would allow me to mount the motors facing upwards so I'm going to persevere with what I have accomplished so far, it may be ok. After all I can now stand on it & balance ok but I've still got a slight nervous wobble but that may go away with practice & we must not forget that we will soon have a whole bunch of electronics that will help us out with the balance.
Only time will tell if this will be ok or if I'm clutching at straws but I'm certainly going to proceed with the timber for now whilst there is still some uncertainty.
Here's what I have so far, it balances by itself or it did before I quickly added the springs so it would keep the handle upright for the photo.
|
|
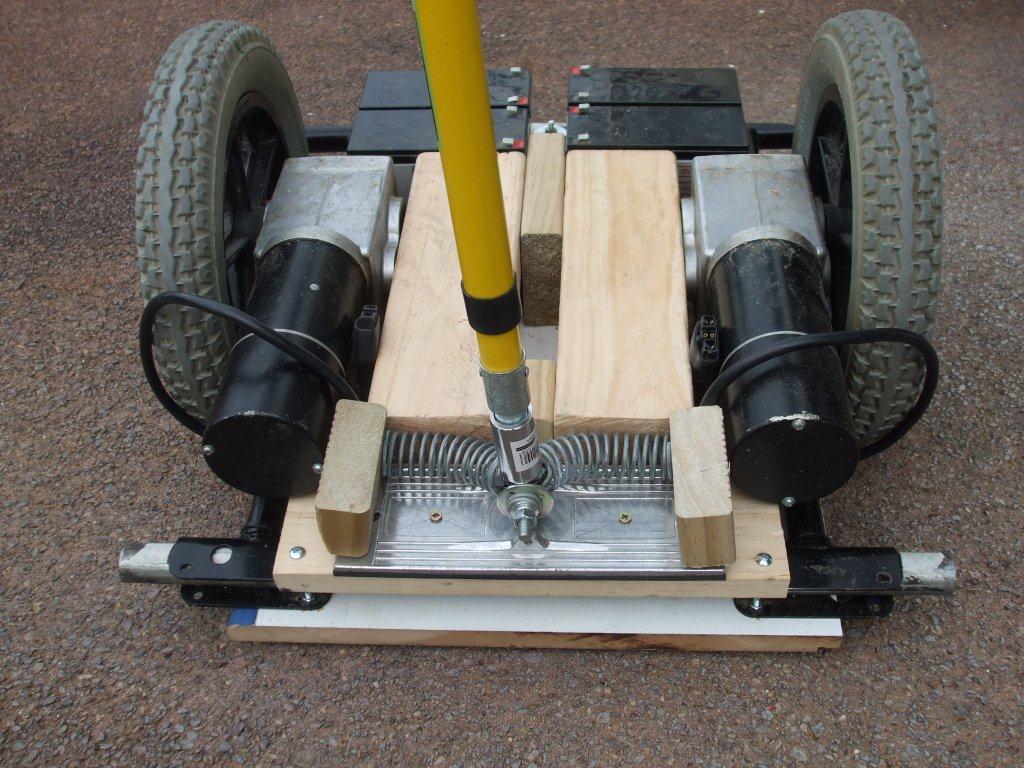
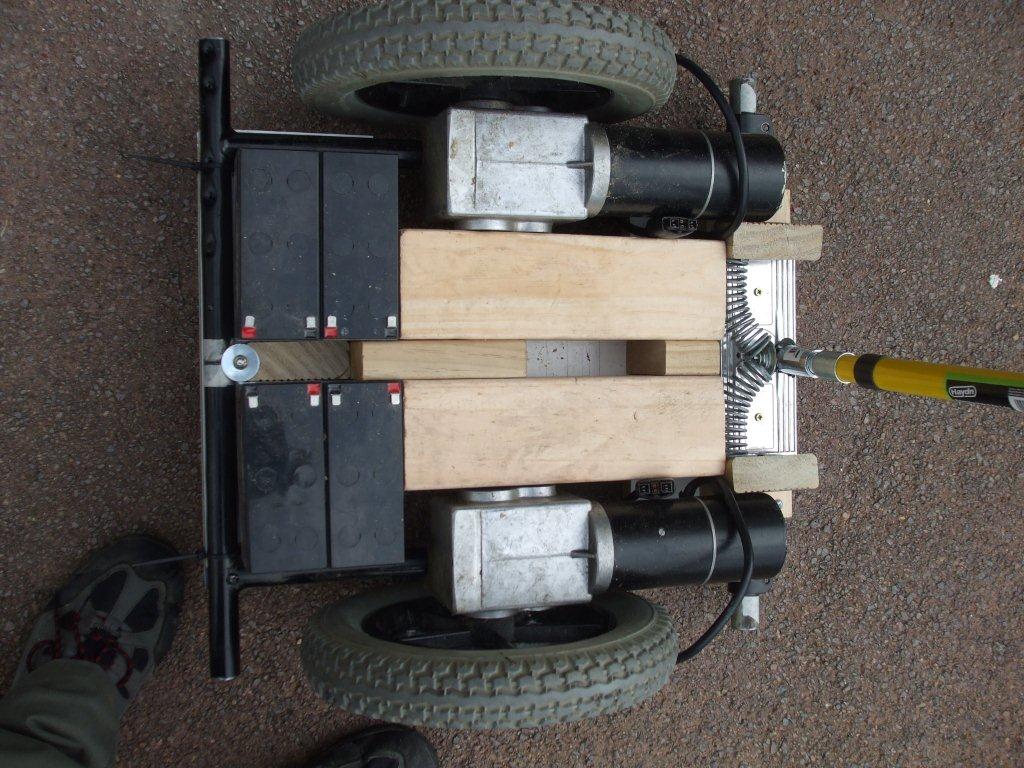
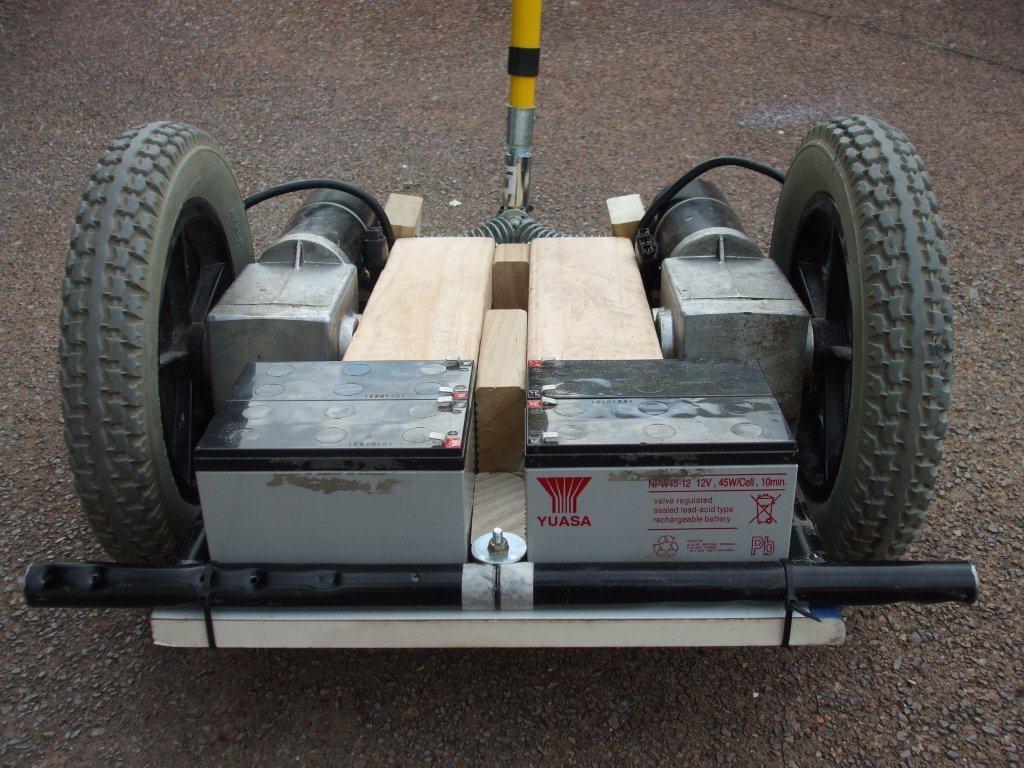
This setup is very similar to what I initially had on day 3 but it is now upside down. The batteries are far lower but there was no room to get the riders feet in that same low area. I added some pieces of timber for now to fill the void in the middle which keeps everything from moving around. The riders feet will go partially on the timber & partially on the batteries for testing at this stage.
The springs were only wedged in so they would keep the handle bar upright for the photos.
I hope this balance configuration is ok because it looks perfect for adding the wiring & electronics & easy enough to add a nice lid on top.
The springs were only wedged in so they would keep the handle bar upright for the photos.
I hope this balance configuration is ok because it looks perfect for adding the wiring & electronics & easy enough to add a nice lid on top.
If you like our site then please click on the Facebook icon at the top right of this page, thank you.
For more information you can email us via our Contact Us page.