If you can get the heat pipes cheap enough when buying your evacuated tubes then go ahead and buy them. It is a lot of work to make 20 heat pipes & test each one to make sure they are completely sealed. I started this project by buying my evacuated tubes because they were cheap & that's all I started with so for me it was easier to just make the heat pipes rather than trying to import them due to the shipping cost.
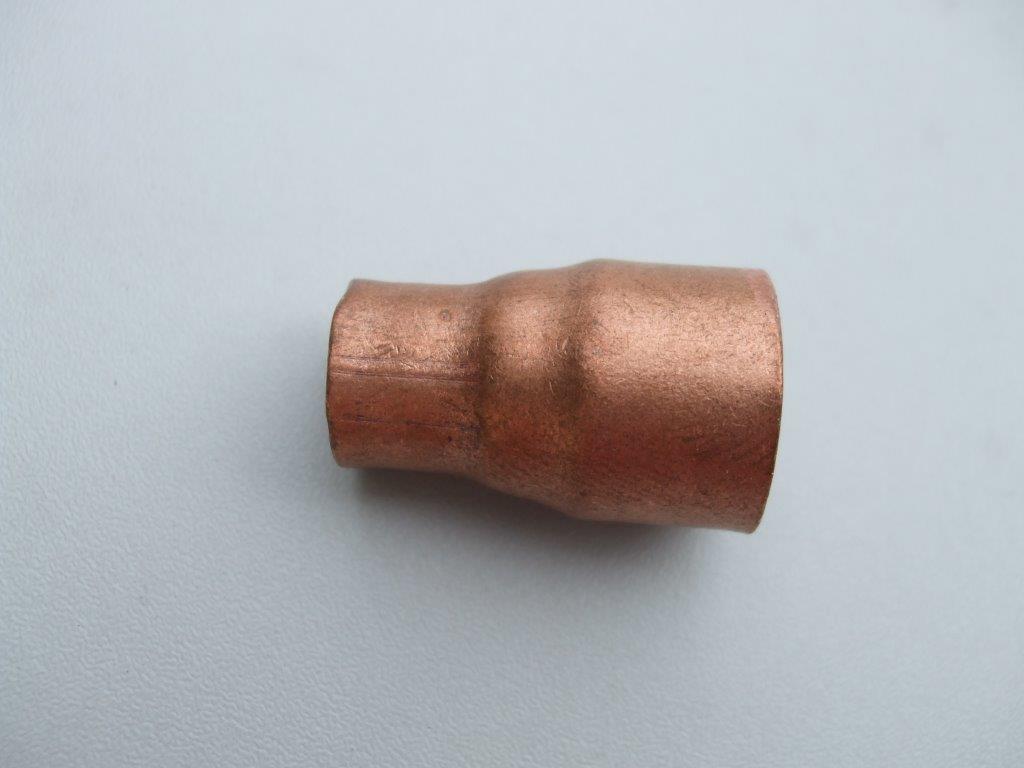
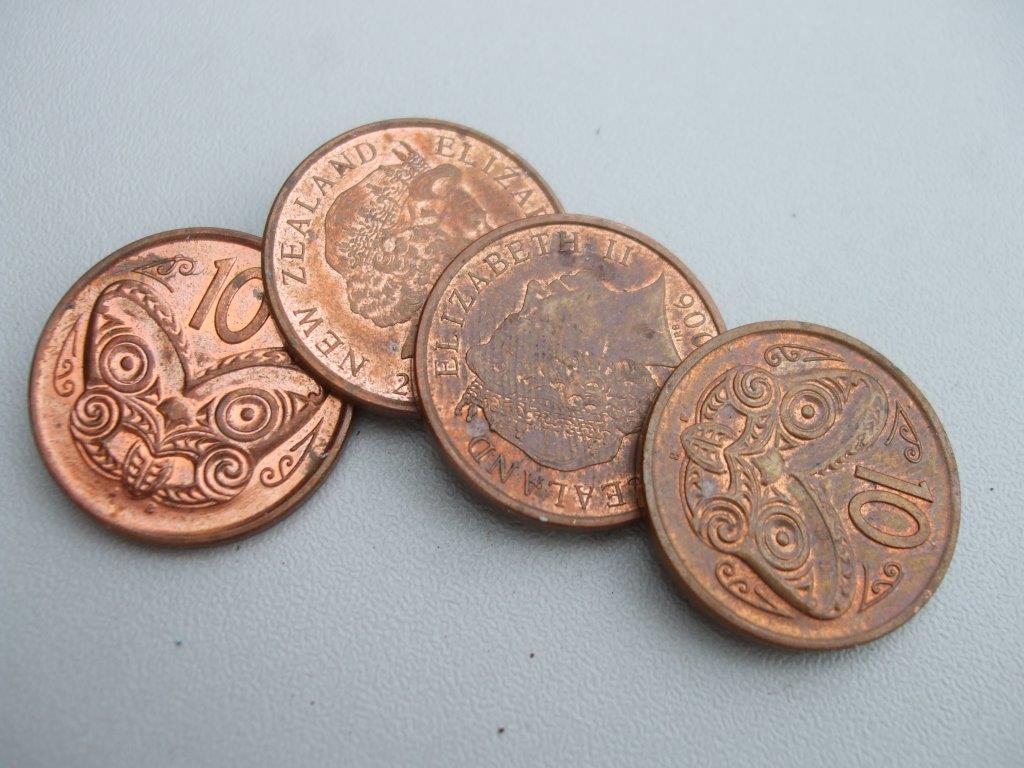
So by now you should have all the main items that were mentioned on the previous page, you will need the coil of 10mm copper pipe & some small lengths of 15mm copper pipe for the ends. There are also a few other smaller items needed which are some 15mm to 10mm copper reducers, one for each heat pipe, they are not too expensive plus something to cap the end off of each pipe, I used some 10 cent New Zealand coins & they worked really well. I've also successfully used an American 1 cent coin.
So by now you should have all the main items that were mentioned on the previous page, you will need the coil of 10mm copper pipe & some small lengths of 15mm copper pipe for the ends. There are also a few other smaller items needed which are some 15mm to 10mm copper reducers, one for each heat pipe, they are not too expensive plus something to cap the end off of each pipe, I used some 10 cent New Zealand coins & they worked really well. I've also successfully used an American 1 cent coin.
The first thing to do is to straighten out the coil of 10mm copper pipe and cut it into 1750mm lengths, one length per evacuated tube.
It is worth taking your time to straighten this pipe, we want it to rest in the middle of our evacuated tube not bend off to the side & touch the glass.
Then cut some 15mm copper pipe into 55mm lengths, one length per evacuated tube.
Now we get to do some soldering with a blow torch, flux and solder, if you've never done this before then get someone to show you or get them to do it for you. The main thing with soldering is that everything has to be clean & hot before adding any solder, if the solder doesn't flow then the pipe was either not clean enough or not hot enough. If the solder flows too well & drips off then it is probably too hot. If you want a solder joint to not leak afterwards then make sure all the parts are perfectly aligned before starting, do not try to force pipes together that are out of alignment. Always clean your soldering joint afterwards with a damp cloth, this not only makes it look good but it also removes the flux which could eat into the pipe if left.
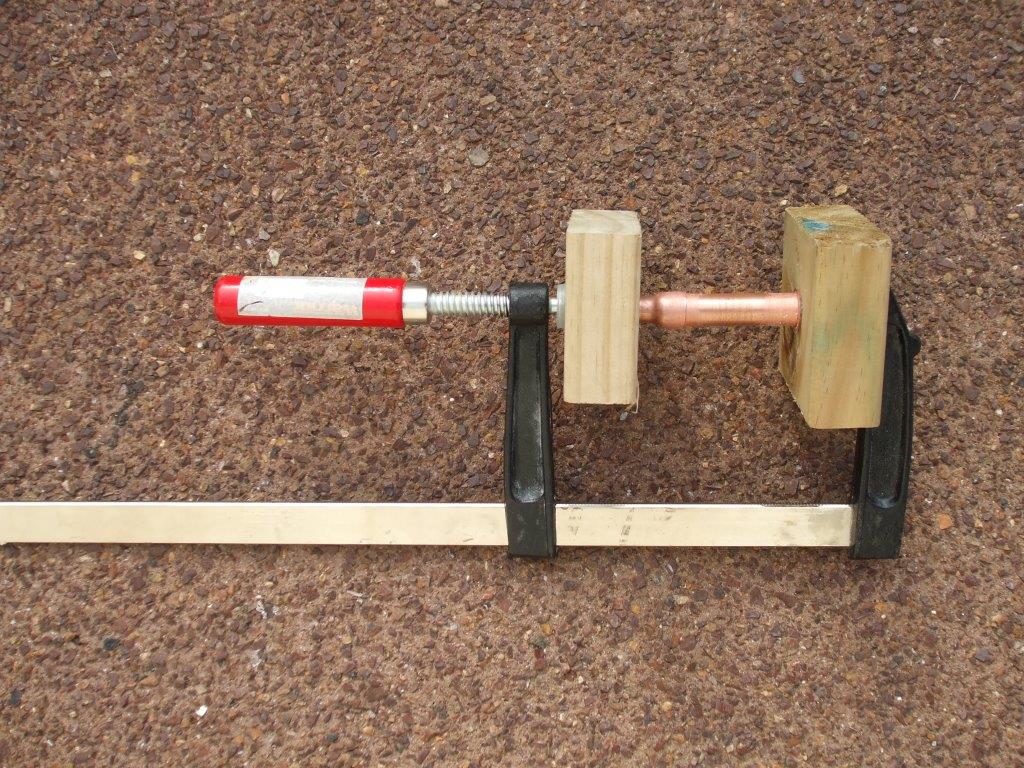
What we are about to do is very fiddly so I ended up mounting it in a clamp to keep it all together, see pic below:
Before I clamped it together I filed the end of the 15mm pipe to a 45 degree angle where it meats the coin, the reason for this will become apparent later. The bits of wood above will burn so I ended up keeping the wood but putting a soldering mat on top of the wood, I just didn't have any pictures of this.
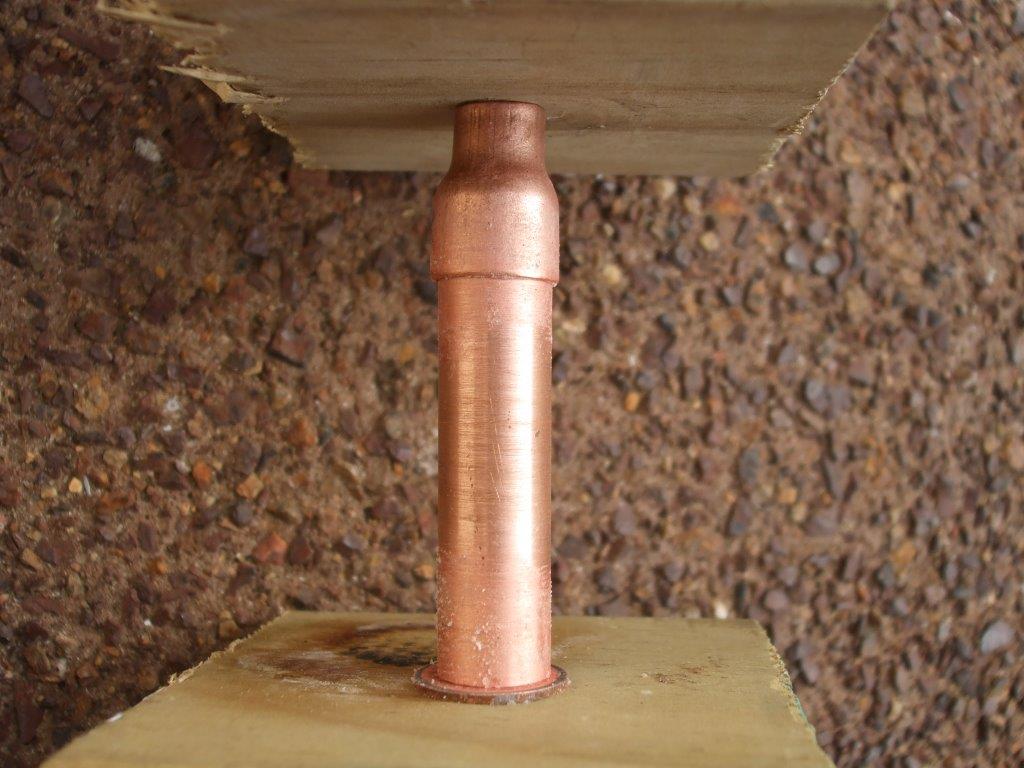
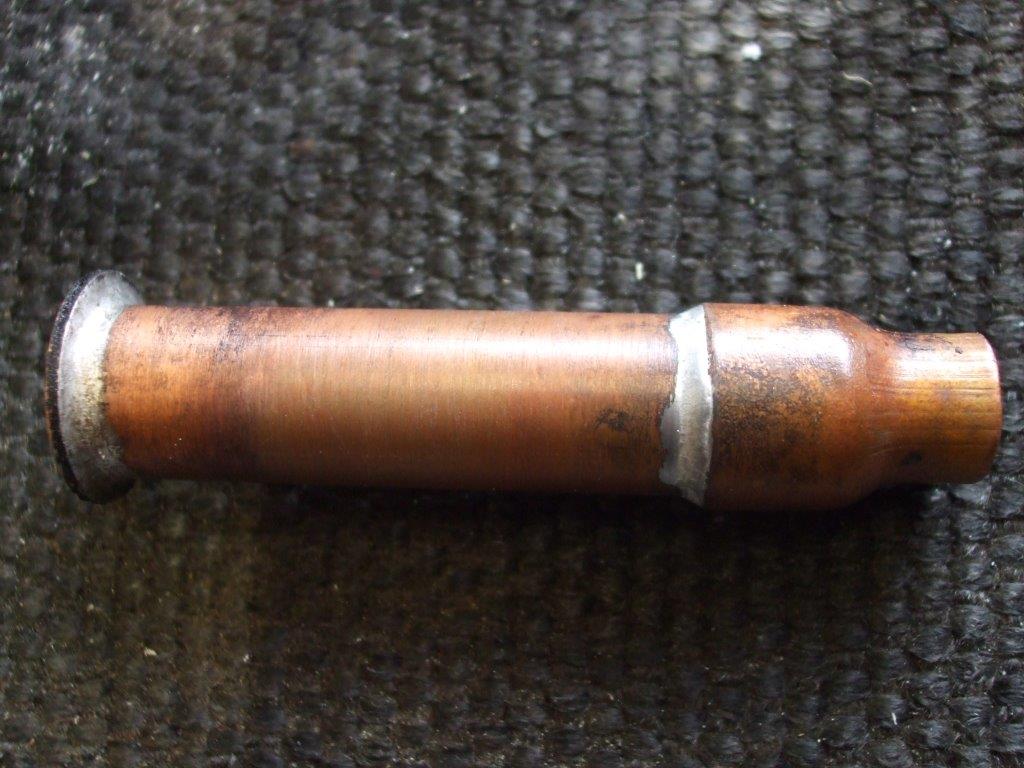
I brushed on some flux around the lower joint, heated it up and applied the solder, the solder instantly flows around the gap between the coin and the pipe, it works very well. I then turned the clamp over & soldered the reducer on so it looks like the left hand picture below.
I brushed on some flux around the lower joint, heated it up and applied the solder, the solder instantly flows around the gap between the coin and the pipe, it works very well. I then turned the clamp over & soldered the reducer on so it looks like the left hand picture below.
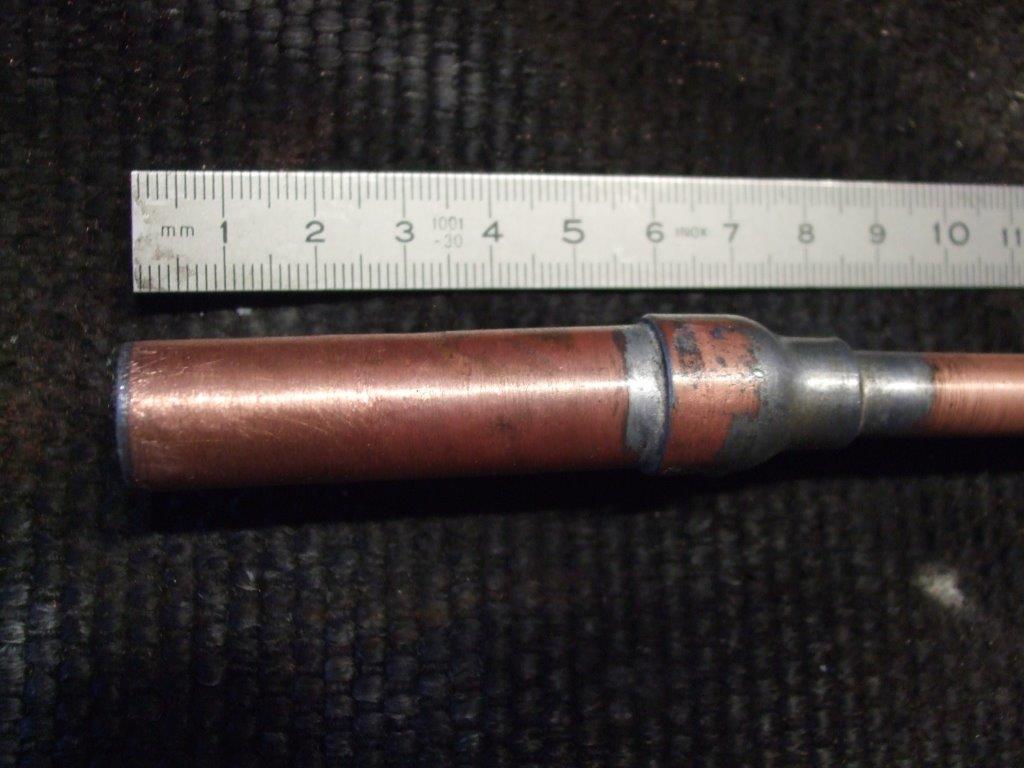
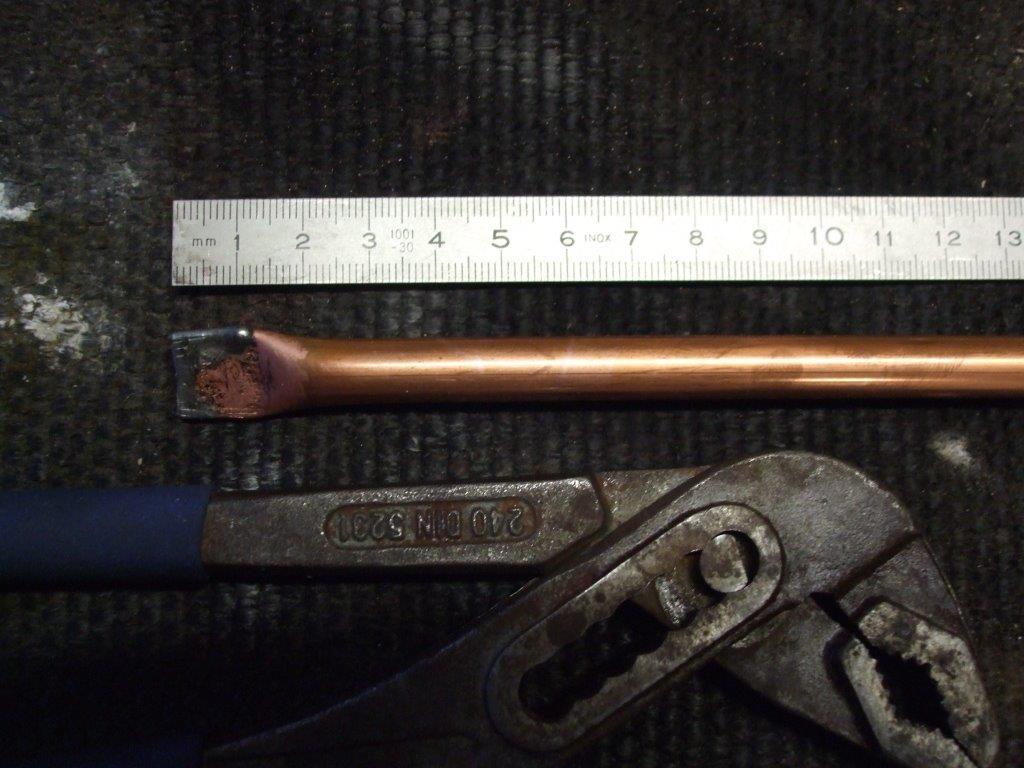
The end with the coin needs to slip snugly inside a 15mm hole in the manifold that we have yet to make. But it will not fit because the coin is bigger than the 15mm pipe so I ground it down on a grinding wheel until the end looks like the right hand pic above. This is why we earlier filed the end of the 15mm pipe to a 45 degree angle so there is more surface area to make the joint good & strong. I have tested this design to destruction many times & the joint is never the weak point so I'm more than happy with it.
Then we need to solder the length of 10mm pipe on so you should end of with something like the above right hand picture.
I then gave each one an initial leak test by blowing down the 10mm pipe whilst the other end is in a bucket of water, this should find any obvious leaks.
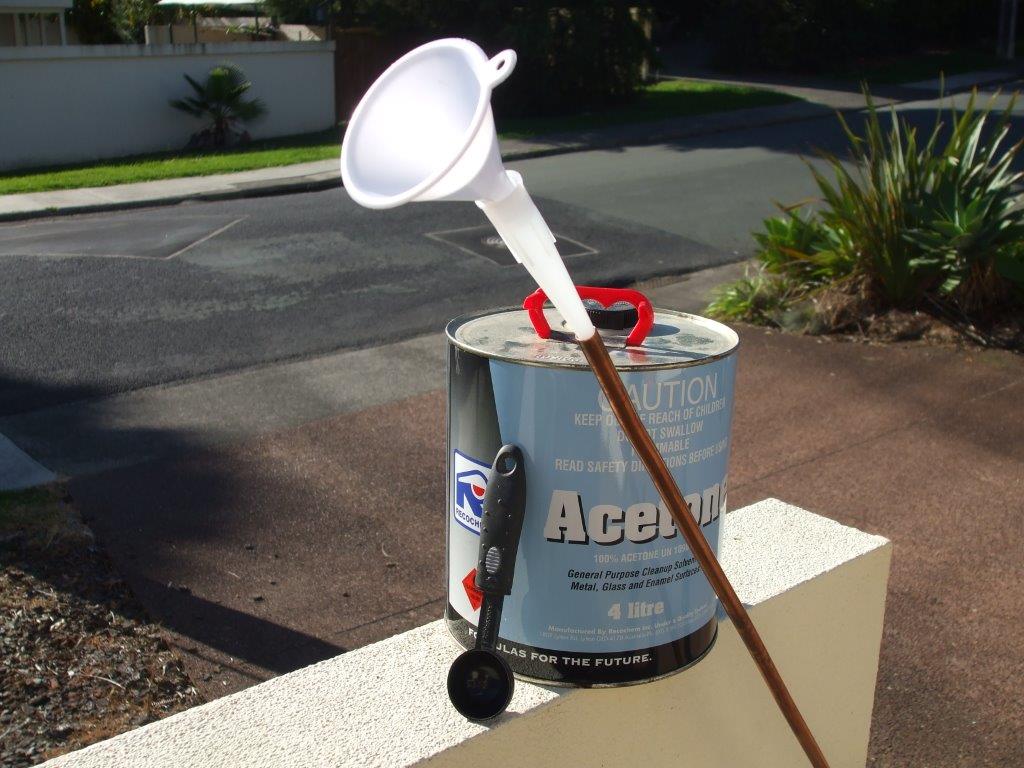
The next phase is to add 11ml of acetone down the 10mm pipe. Below is a pic of some acetone I already had, I measured 11ml in a measuring spoon & poured it into the funnel that you can see below, the end of the funnel was bigger than the tube so I used the end of a tube of sealant that seems to fit well. The amount of acetone needs to be accurate, I have tested many different amounts & this works best for the combination of my size heat pipes together with my evacuated tubes. If your sizes are different then you will need a different amount of acetone, do not calculate the amount of acetone as a percentage of the heat pipe volume, this may be a good starting place but you will need to test it thoroughly & safely to be sure. Acetone is the stuff that removes nail varnish, read the label & be safe. I bought mine from a large DIY chain.
With my adjustable pipe clamps ready (see right hand pic above) and the acetone added, I gently heated the bottom of the heat pipe (the 15mm bit with the acetone in it). You can heat it with a blow torch but not too much or your previous joints will come apart, I found it easier to have another person holding an electric heat gun on the bottom of it when I did mine but that was because my wife didn't like the blow torch. You will definitely need to wear goggles here, after5-10 seconds you will feel the hot acetone rise up the pipe, stop heating the pipe just before the acetone comes out the top. Now quickly clamp the end of the pipe off & solder it, keep the pipe upright through this whole procedure. You need to do this quickly so have everything prepared, if it takes too long to seal off the end of the pipe then the acetone will cool down & start to contract, we do not want this to happen and you will have to start again. The idea is that once the heat pipe is sealed the acetone will cool and contract back down to the bottom of the pipe, when it does this it creates a slight vacuum inside the tube. This vacuum will help prolong the life of the heat pipe, when it is in normal use the vacuum will reduce the pressure inside the heat pipe when the acetone gets hot and expands. If we didn't do this then the heat pipe may split & leak.
It took me a couple of goes to get this procedure right but I soon got the hang of it.
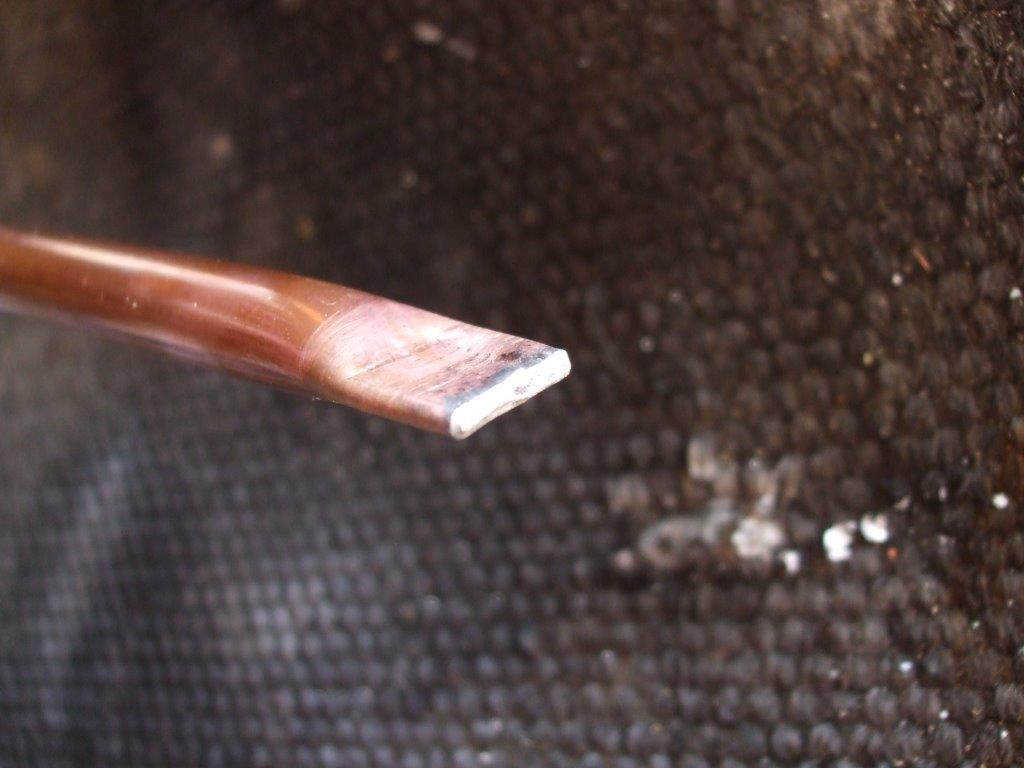
In the above right hand picture I have shown how I clamped the end off, the reason I didn't use a proper end cap is because I wanted this to be the failure end in an over pressure situation. I have tested this design to destruction to make sure it is safe & it may be simple but it is very affective. The heat pipes will be the very last thing to install so for now keep them away from the sun or any other heat source until you need them.
So hopefully by now, especially after feeling how quickly the heat is taken from the bottom to the top of the heat pipe, you will start to appreciate how well a heat pipe can work, even if it is a homemade one.
The science behind this is that acetone has a low boiling point of 56°C (133°F), compared to waters boiling point of 100°C (212°F). The drinkable temperature of my coffee while I write this is around 50°C (122°C), which will hopefully give you an idea of the heat needed to get these heat pipes working. When the acetone starts to boil it will expand & travel up to the top of the heat pipe where the heat gets transferred to colder water flowing passed it. The acetone cools & goes back down to the bottom of the heat pipe to start the cycle again. During my testing phase I could clearly see this cycle in action & without the water flowing passed the end of the heat pipe it will get extremely hot, over a 100°C which you can see in one of the videos on the first page.
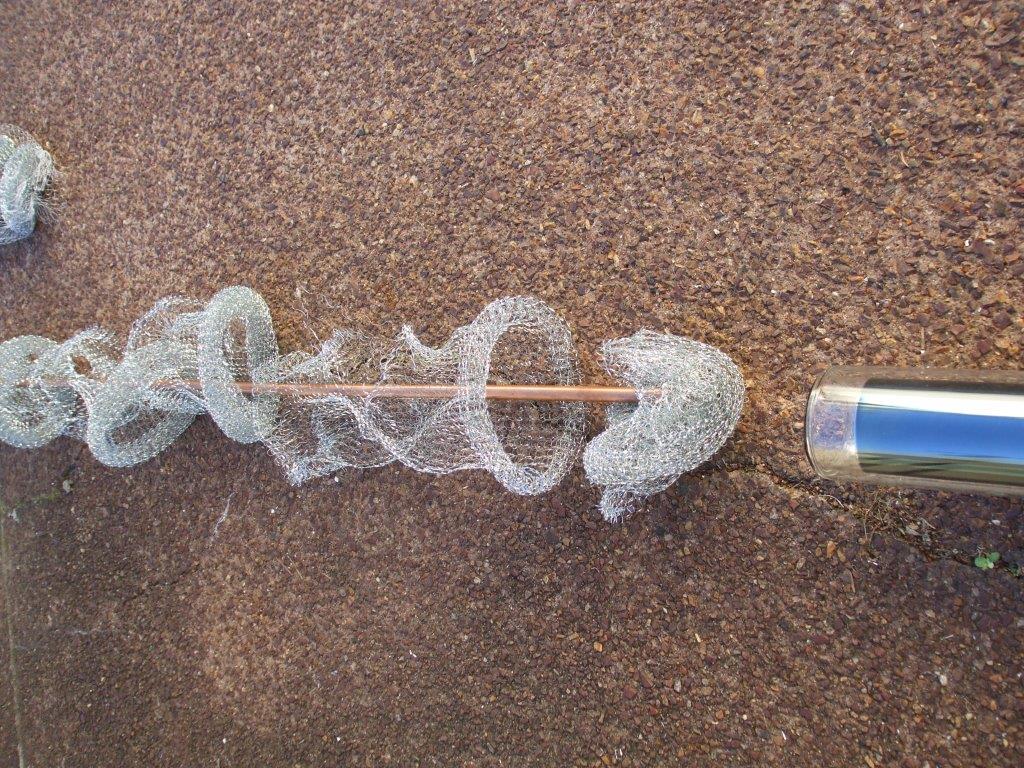
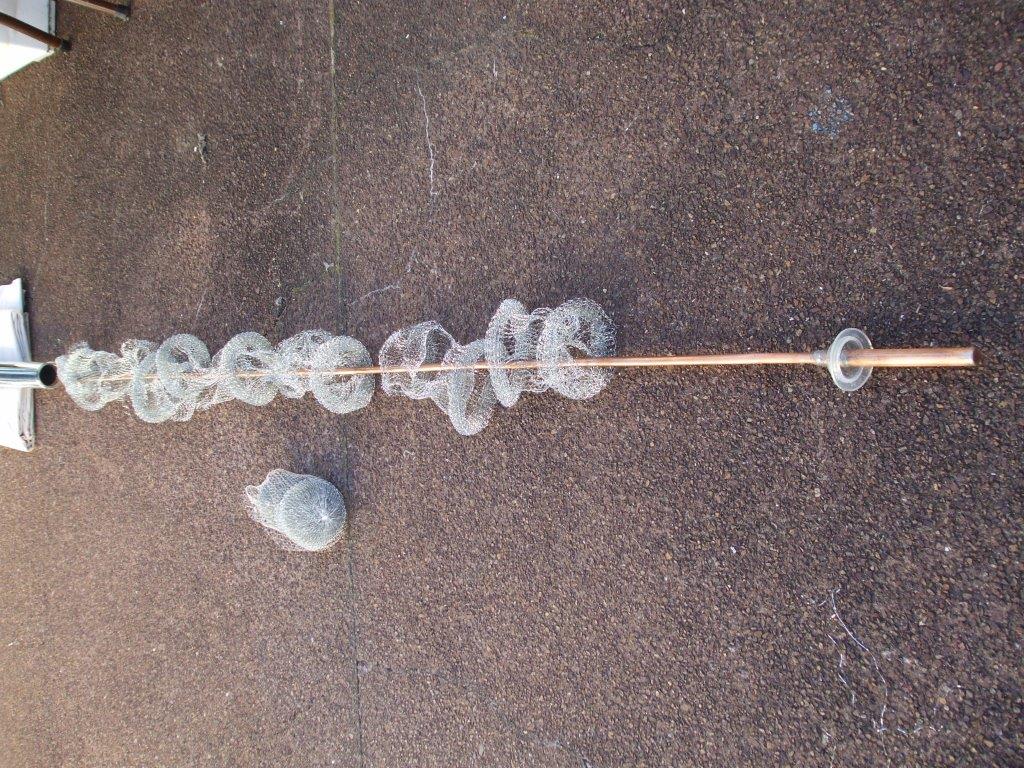
You may want to do this next bit later in the project but if I mention it now it may give you a better understanding of how the heat pipe works. For the heat pipe to quickly absorb the heat from inside the evacuated tube it will need a physical contact with the inside of the tube, I have achieved this by threading stainless steel scouring pads down the entire length of the heat pipe as shown in the pics above. Stainless steel is a very good conductor of heat & the scouring pads are very cheap. They come in packs of 6 from the thrift store for $2, they are rolled up & look like a doughnut with a hole in the middle. Just unroll them & thread them onto the heat pipe. The one on the end can be folded over like the above left hand picture, I found this worked best. If you have unrolled a few into a pile on the table then you will notice that they tend to hook onto each other, so I took advantage of this & tried to connect them together by scrunching the ends together with it's neighbor. The reason I done this is so when you insert the heat pipe with the folded scrub pad first then it needs to be connected to the next one so that it pulls it into the evacuated tube, it's a fiddly system but it works.
There are a few different types of scouring pads, stainless steel or copper colored ones will work, some are bigger & will be longer when unrolled, I liked the longer ones as there were less needed to connect together.
There are a few different types of scouring pads, stainless steel or copper colored ones will work, some are bigger & will be longer when unrolled, I liked the longer ones as there were less needed to connect together.
One last thing, to the right of the above picture you can see the silicone baby teat that I used to help seal the end of the evacuated tube from dust & debris. It doesn't really make a seal but it is enough to keep unwanted stuff out. I just snipped the end of the teat creating a small enough hole to make it a tight fit onto the 10mm part of the heat pipe just below the reducer. The teats are packaged as wide necked silicone teats and they were $3 NZD for 2 from Kmart.
In the photo above & the 2 above that I've shown a heat pipe that I was testing that had a much longer expansion bulb (the15mm bit), the heat pipes that I will actually use will have smaller 55mm end as mentioned earlier towards the top of the page.
In the photo above & the 2 above that I've shown a heat pipe that I was testing that had a much longer expansion bulb (the15mm bit), the heat pipes that I will actually use will have smaller 55mm end as mentioned earlier towards the top of the page.
If you like our site then please click on the Facebook icon at the top right of this page, thank you.
For more information you can email us via our Contact Us page.


