
Wind Turbine Day 5
|

|
|
How to mount the bearing, I must admit that this is one of
the areas that I wasn’t sure about but I decided that I couldn’t come up with a
solution until I could see what the unit looks like. Well, I’m at that stage
now, another coffee & a think & lots of looking.
After more thinking I came up with another problem & realised that mounting the blades was not going to be as easy as I first thought. Now I have 2 problems. So far searching on the net offers very expensive assemblies for purchase that would overcome both problems but no detail as to how to make it yourself, I’m sure there will be some info somewhere & I just haven’t found it yet. The problem is that if I attach the blades to the plastic motor cover, which I really should be calling the rotor, then I stand a high chance of it breaking over time. I noticed that there is that big plastic looking nut thing that keeps the cover on, if I could get that off then I may be able to bolt something more solid onto the exposed metal shaft. I tried a few things to get this off & it really did look like one of those jobs that was going to be really frustrating until I pushed a 14mm socket down the inside by hand to release the clips & wiggled the plastic nut thing & it just come out, cool, I know that’s what I intended but it’s always good when it actually works. Well it seems that I have the blade mounting problem under some kind of control & after another look at the motor cover I think I could be ok with mounting some plastic blades on it, but what about mounting that dam shaft & plastic bearing housing to a horizontal piece of metal or wood, am I really just going to strap it on & hope for the best. I’m now thinking of mounting the plastic bearing housing inside a tube, possibly a force fit with a bit of adhesive, then mounting the tube onto a horizontal piece of wood, maybe U bolts. I guess this would have fitted in a tube better if I had used a hole cutter to remove the housing but I’ll see how this pans out. Looking for a piece of tube around 80mm diameter. |

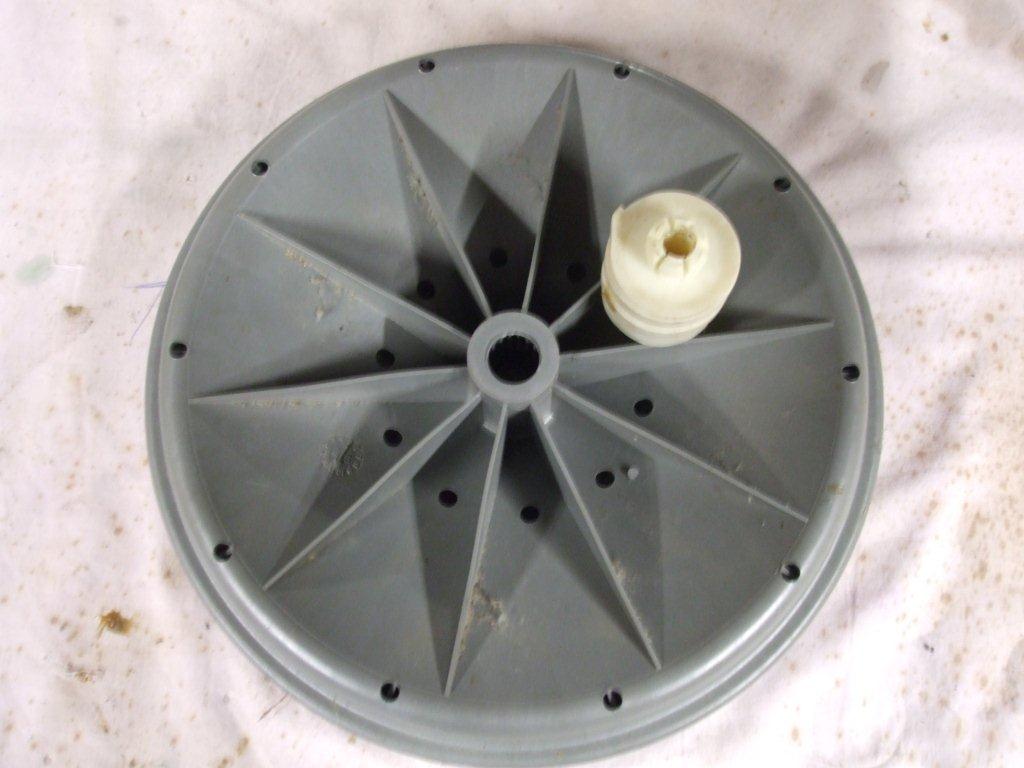
This is the grey plastic rotor housing.
Success, I managed to easily remove the plastic thingy.
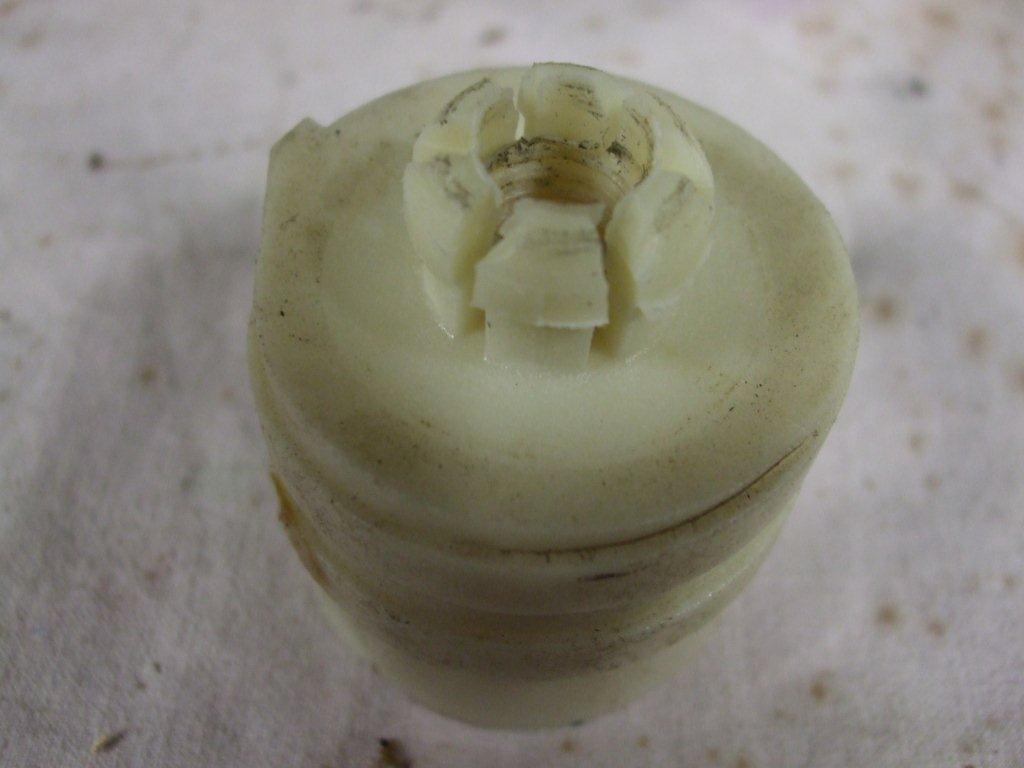
Close up of that plastic thing, here you can see the clips which is half the battle if you know what you are up against.
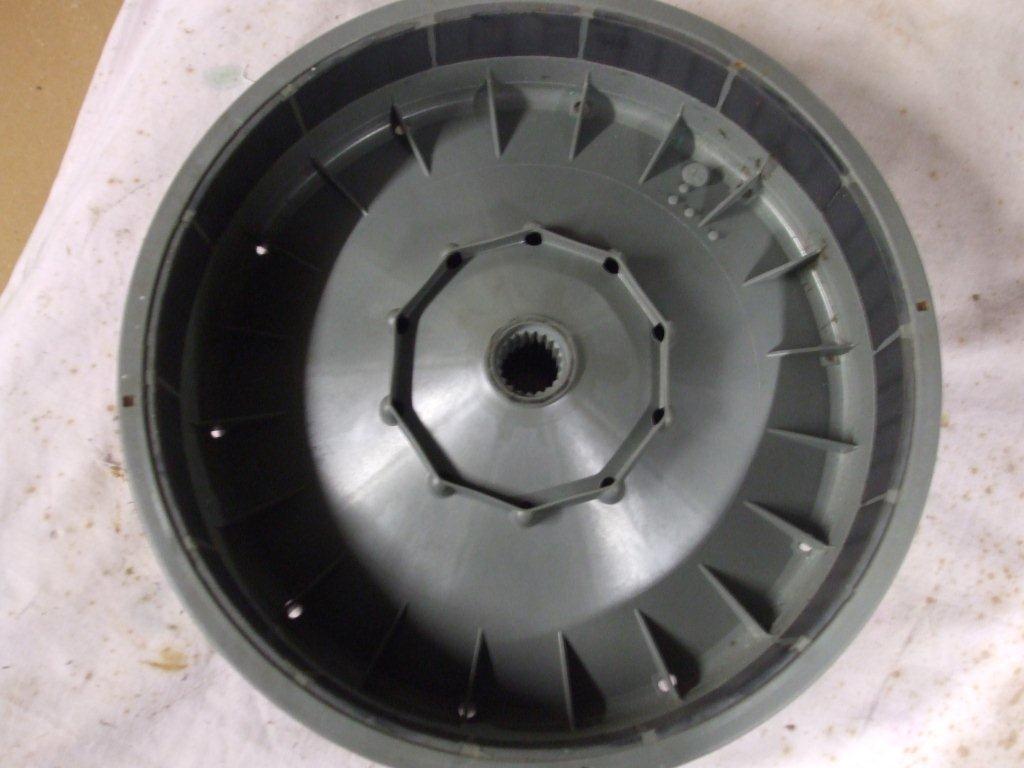
The inside of the plastic rotor, this is the bit that has the magnets around the inside circumference. Because of the magnets it is a bit of a struggle to separate it from the motor so get someone else to help. The plastic rotor is surprisingly very hard & robust & looks like it will be ideal for our wind turbine.
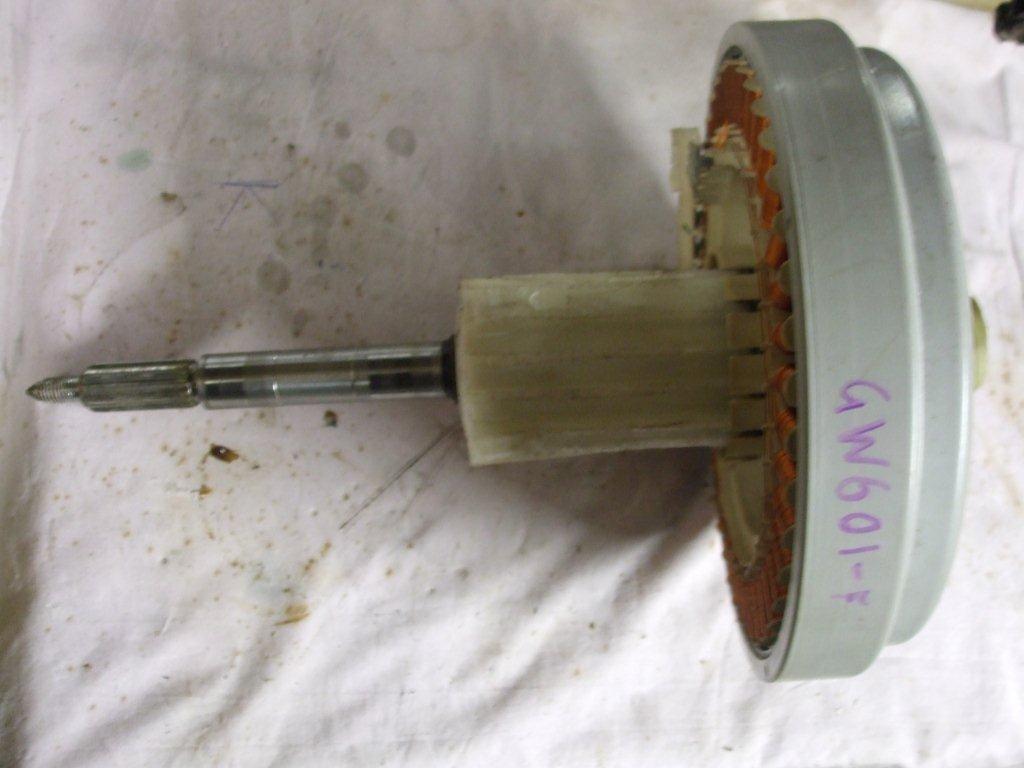
I've fitted the motor back onto the rotor & connected the shaft & bearing housing. Now I can see what it will look like I can start to visualise how to mount it.
|
If you like our site then please click on the Facebook icon at the top right of this page, thank you.
For more information you can email us via our Contact Us page.