So now that we have designed the system we need to start sourcing all the parts.
Plumbing parts are expensive, very expensive, the price of brass & copper has increased which is why cheaper plastic pipe is now used for many projects. But unfortunately due to the high temperatures we need to use copper pipe. Below are all the main parts that you will need to source before beginning, if you take your time & shop around online you can find some great prices. Be patient, it took me many months to slowly amass all the parts I needed at the right price.
15mm copper pipe
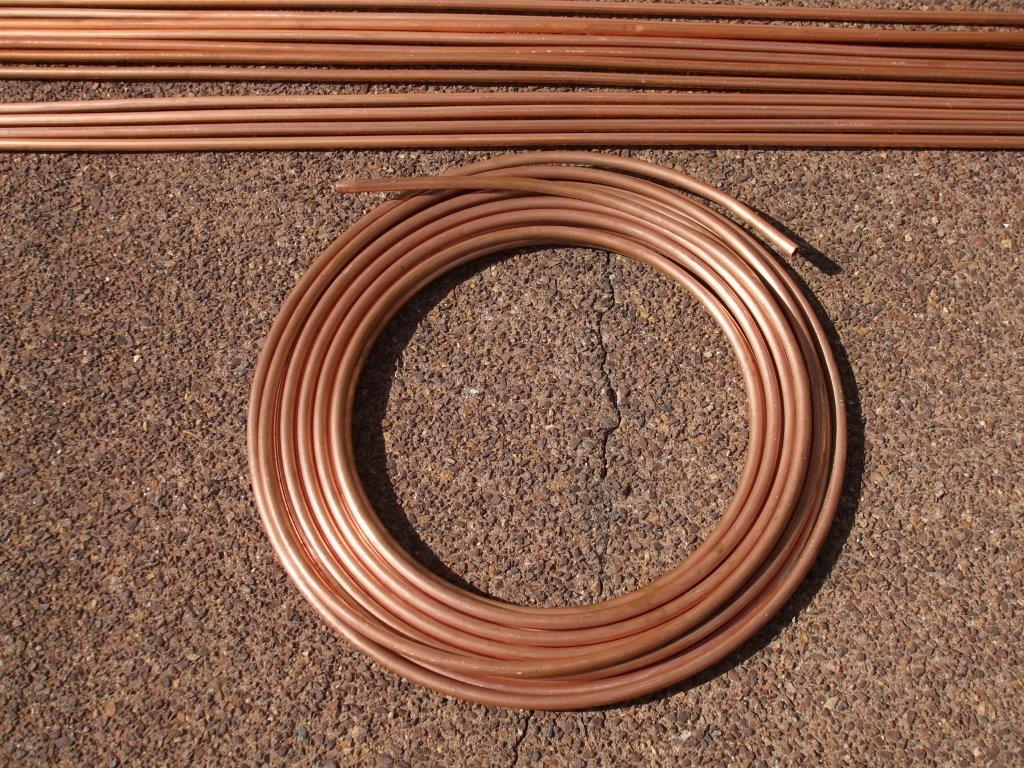
You will need 15mm copper pipe to & from your cylinder and up to the roof, check online auctions and scrap metal recyclers, take a piece of 15mm pipe with you to make sure you are getting the right size or you could be buying some old imperial half inch pipe that would not fit the modern metric fittings. Of course if you can get the imperial size cheap enough then you can use it for the 2 long runs & convert it back to 15mm for the fiddly bits at the cylinder & at the solar collector frame. The little short bit of the heat pipe that pokes out of the evacuated tube is also 15mm copper so allow a couple of extra metres for that. If you buy it new then 15mm copper pipe is around $70 for 5 metres. The scrap value in 2012 was $12 NZD per kg, which means I was able to get all the 10 & 15mm copper pipe I needed for around $180 NZD which is a huge saving.
15mm Insulation
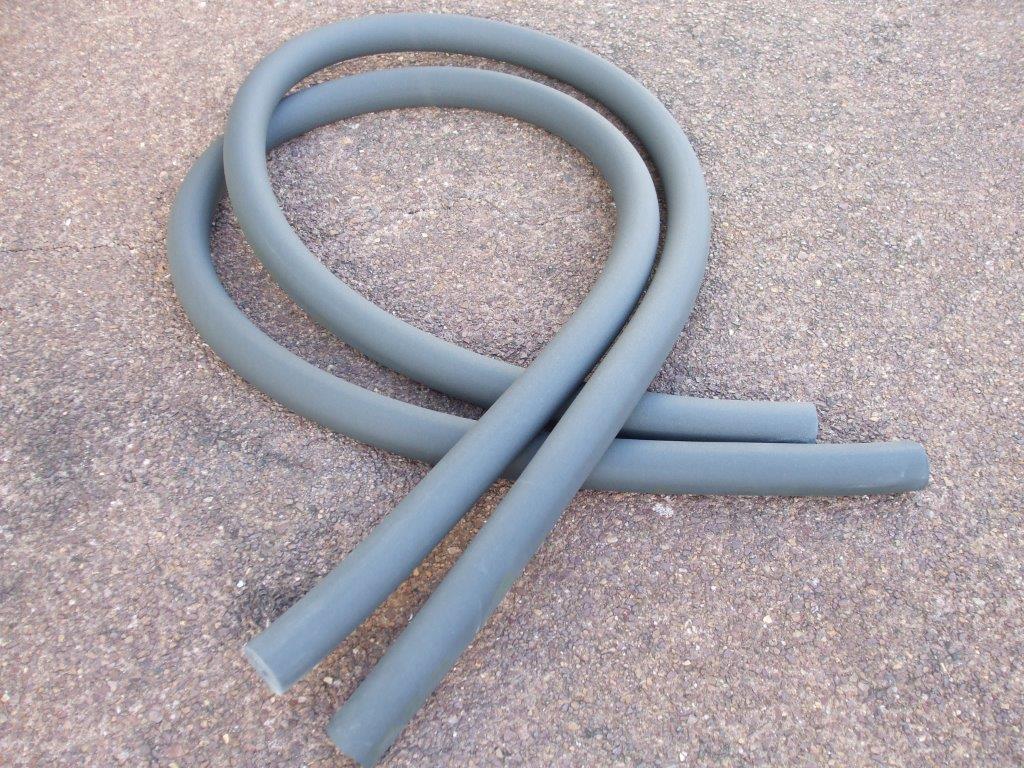
Along with the pipe you will need good 15mm insulation, you will need to get something that is good for the outside & will combat the UV. Plus it may have to cosmetically look good or maybe you want to hide it away inside some plastic rain water pipe so it looks better. I got 36 metres of new insulation for $95.
10mm copper pipe
You will also need 10mm copper pipe to make the main body of the heat pipes, this size of pipe comes in a coil. So keep a look out for that when you are searching for the 15mm copper pipe. Each heat pipe uses 1750mm of 10mm pipe. I think I paid about $25 per15 metre coil second hand, it had not been used before.
Evacuated Tubes
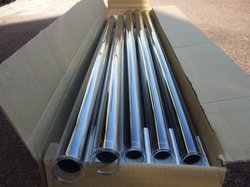
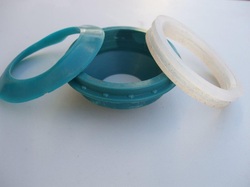
As mentioned earlier I got mine at a very good price at $5 each, but shop around, search for evacuated tubes on Ebay or other online auction sites. My tubes each came with a large round silicon washer & silicon shroud & a plastic base plate, the guy I bought them from gave them to me to help mount the tubes. I suspect the tubes do not normally come with these bits so if you are making your own frame then you need to ask for them, they are only small cheap items but without them it gets a bit more awkward to mount the tubes.
There are many different lengths & diameters of glass evacuated tubes, I was told that mine are large commercial tubes, they are 1800mm long with a 58mm outside diameter. You can get much shorter ones that may suit your installation better but you will just need more of them, plus you would have to make more heat pipes.
Some tubes come with the heat pipes, they are more expensive but if you wanted to skip making the heat pipes then that could be the way to go. Or maybe buy a complete unit including frame, tubes & heat pipes, it would certainly reduce the amount of work but of course it will cost more. I have the time to make most things but buying a complete frame including the tubes & heat pipes is definitely worth considering, most of them are made in bulk in China so if you shop around you should be able to get something for around $1500 but I have no idea how good they are.
The Frame
The solar collector frame can be made from any strong but light material that is rust resistant. Mine is designed for a flat roof so I had to put 2 back legs on it to stand it up to the correct angle. But if you are putting it on a pitched roof then it would make building the frame a little easier. Again I got all the material from online auctions & scrap metal recyclers, the main frame is made from 62x39mm galvanized steel hollow box section with a wall thickness of about 1mm, 5 lengths of 2050mm was enough for my frame not including the legs. It was originally from a commercial greenhouse and I got all the frame I needed and more for less than $50. The top horizontal piece (the head) is made from a length of zinc (or maybe zinc & aluminium) rain water guttering, it was less than $10 from a scrap metal company. I had to close off the ends by making a few cuts & folding the ends up & riveting them shut to make a final length of 2340mm. I was going to make the legs from the same galvanised steel as the rest of the frame but I saw 2 legs complete with base on an online auction for only $20 so I used them instead, they were far lighter than they look. The two large shiny reflective sheets are second hand commercial kitchen work tops, again they were from the metal recyclers, they were around $70 for the 2 but stainless steel is expensive so it was still a very good deal. They came with a lip around the edge that I had to fold out & hammer flat. It was the length of these sheets that governed the length of my frame. Once they were flattened they were 2040mm long & 580mm wide. Unfortunately they are fairly heavy, thinner sheets would have been better but they can be easily replaced should I ever come across something thinner.
The Pump
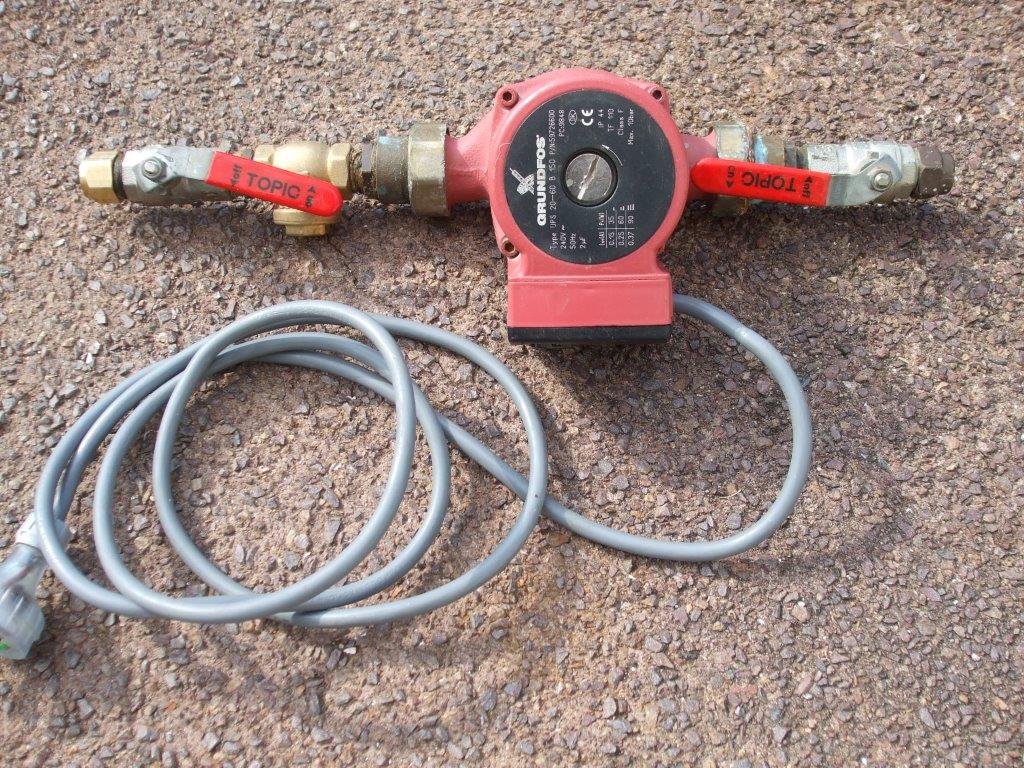
I've already covered the pump in more detail on the previous 2 pages but here are the highlights. I prefer to use a mains powered bronze bodied pump that can be adjusted to low speed, the low speed of mine draws 0.15 amps. I bought 2 from an online auction for $130, I only need one but I like the idea of having a spare. They can be upwards of $400 for a good quality new one so it's worth shopping around. I would suggest that you do need a good quality pump, the cheaper ones can be noisy and are prone to getting even noisier as they wear out. When I tested mine for the first time I had to feel it to make sure it was working, it is very quiet, to be fair I don't think it really makes any noise at all.
The Controller
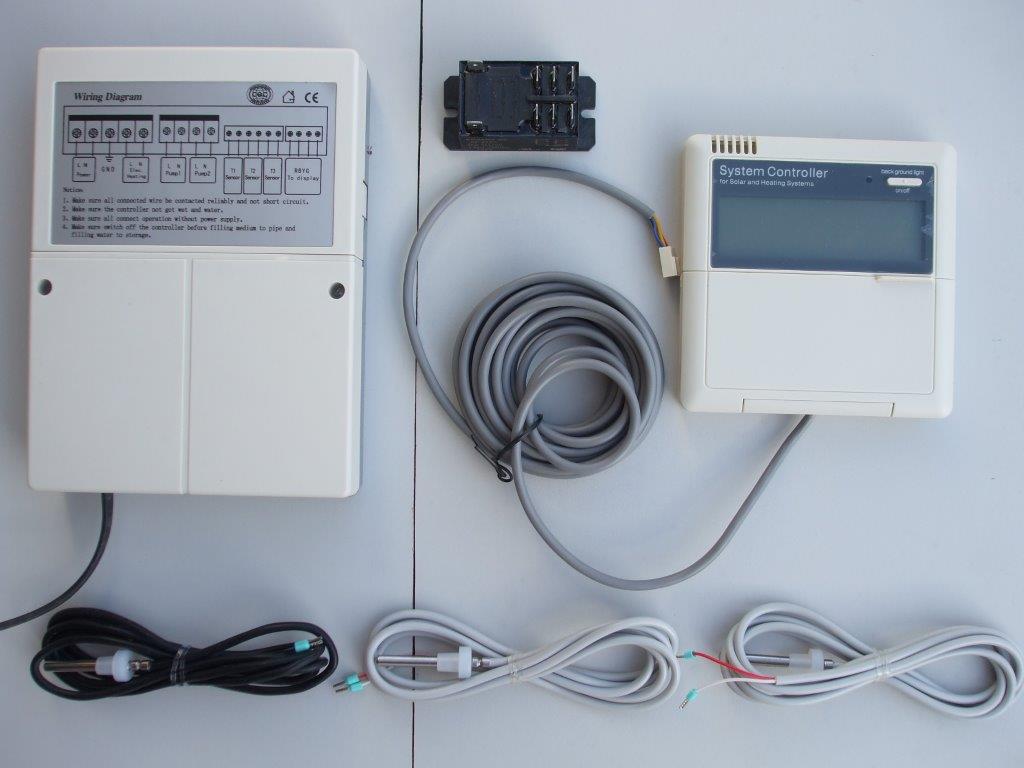
We need something to look at the temperature of the system and make decisions as to whether the pump should be turned on or off or whether it should switch on the electric element to boost the temperature an hour before you go to work. The controller can do many things based on the time of day & the temperature, & most controllers have many settings that you can play with. So I looked around and couldn't find a good deal within New Zealand so I imported one directly from China. I am very pleased with it, it has loads of functions and looks good, it shows a graphical display of your system along with the temperatures of all the probes. The one I got was $100 NZD including shipping. The model is SP24 & comes with 3 temperature sensors, please let me know if you are interested in this, if so I maybe able to buy in bulk to keep the price down. This unit can switch your existing electrical element on & off for elements up to 12 Amps. Mine draws 13.8 Amps so I bought a separate mains relay for $20 that will switch up to 30 amps. If your element has a label showing the Wattage then divide the watts by the voltage to get the amps.
Plumbing Bits
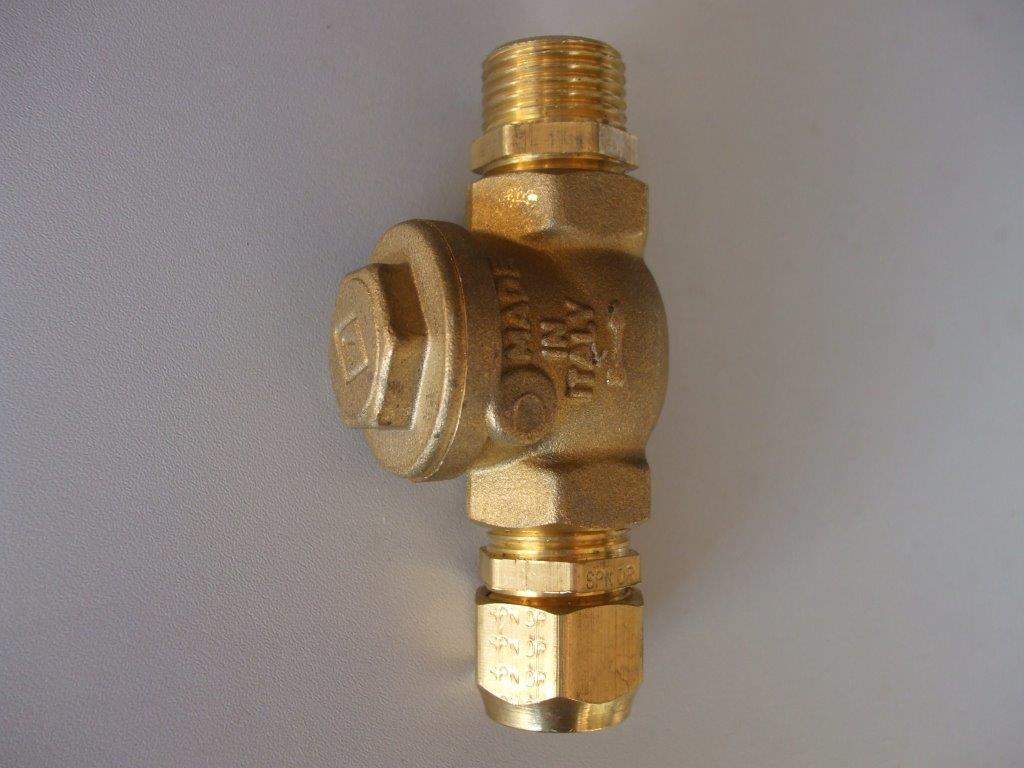
You will need to get a one way valve for around $30 (also called a none return valve or check valve) & install it just above the pump, this stops the hot water rising up to the roof during the night, there are 2 main types, spring loaded or flap type ones. I got a flap type one because it needed a lot less pressure to open it, the idea being that if the pump is on it's lowest setting it would be easier for it to open the flap. I'm not sure if this is a valid reason but that was the type I got.
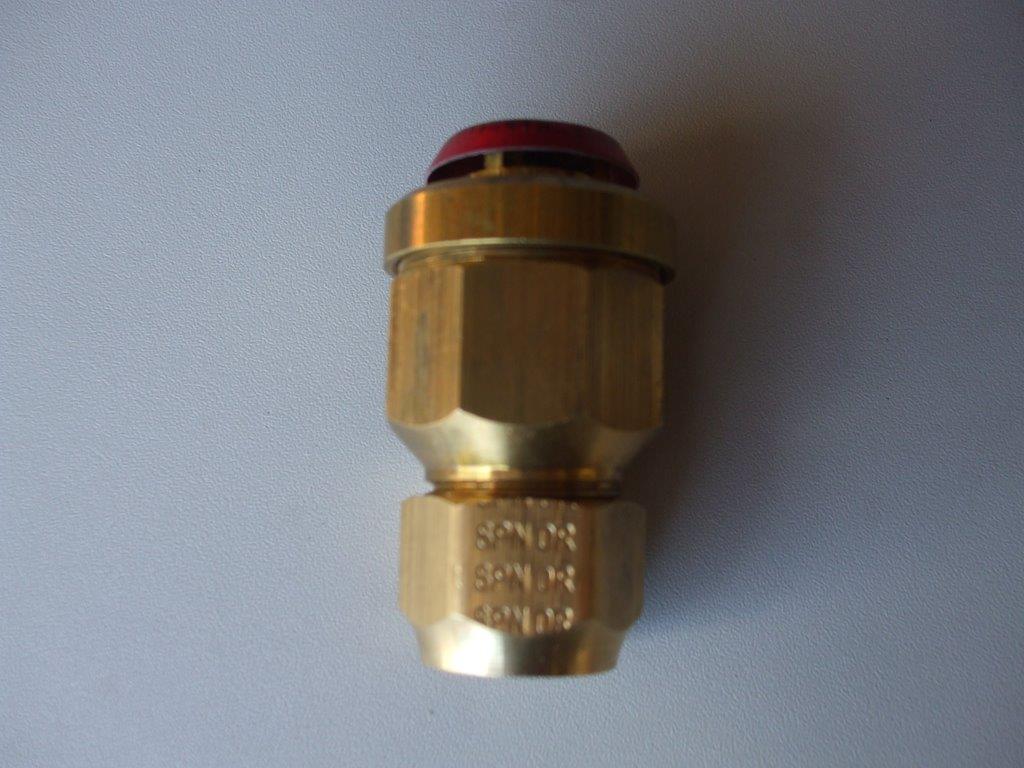
You will also need an automatic air vent, also known as a vacuum release valve, mine cost around $50.
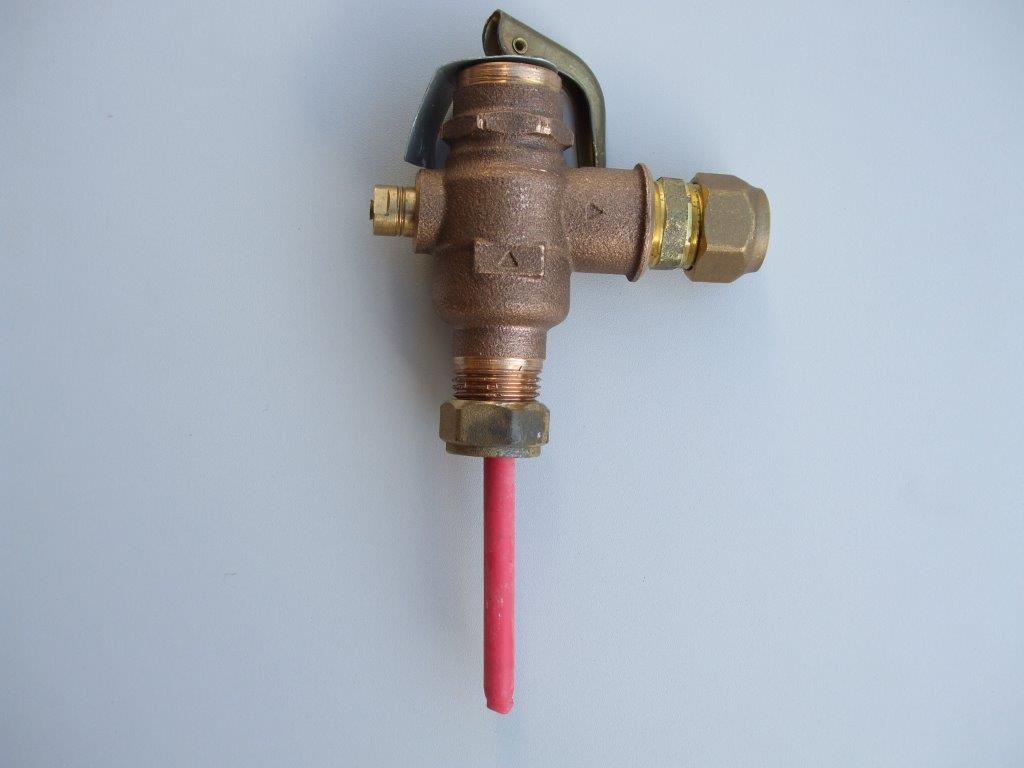
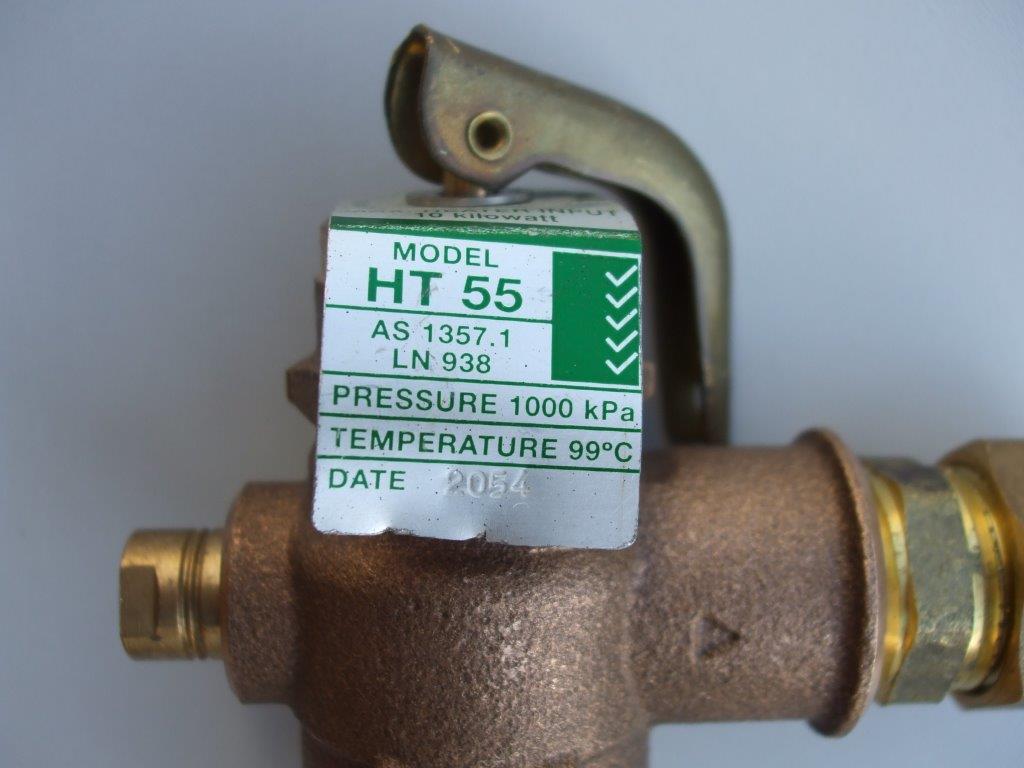
The last big item is a TPR valve (Temperature Pressure Relief valve), I already had one of these but I think they are around $120 new. You will already have one mounted to the top of your cylinder, have a look at the label on it and get the pressure & temperature rating from it. Then get another one that does the same. You should be looking for something like pressure=1000KPA & Temperature=99°C.
There are of course many other smaller bits & pieces such as various plumbing connectors & fixings for the frame but this page deals with all the big stuff that you will need to collect before you begin.
If you like our site then please click on the Facebook icon at the top right of this page, thank you.
For more information you can email us via our Contact Us page.


